 Everett
 New-Construction Windows Built for Lynnwood's Marine Climate
When a home is being framed in Lynnwood, the window openings get exactly one good chance to be flashed and sealed correctly before siding, trim, and interior finishes cover the evidence. Get that sequence right and the windows will perform for decades. Get it wrong, and the first sign of trouble is usually a stain on drywall two or three winters later, long after the crew that installed them has moved on. Everett Siding installs new-construction windows as part of the exterior envelope work we do throughout Snohomish County, including Lynnwood, and we treat the window openings with the same care we give the siding and weather barrier around them — because on a new build, they're really one system, not two separate trades.
Lynnwood sits close enough to Puget Sound and the region's marine weather pattern that its homes deal with salt-laden air, long stretches of driving rain, and a moss and mildew season that can run more than half the year. None of that is exotic — it's just the baseline every new home in this part of Washington has to be built for. The difference between a window installation that shrugs off that climate and one that starts failing early usually comes down to details most homeowners never see: flashing sequence, sill pan drainage, and fastener choice.
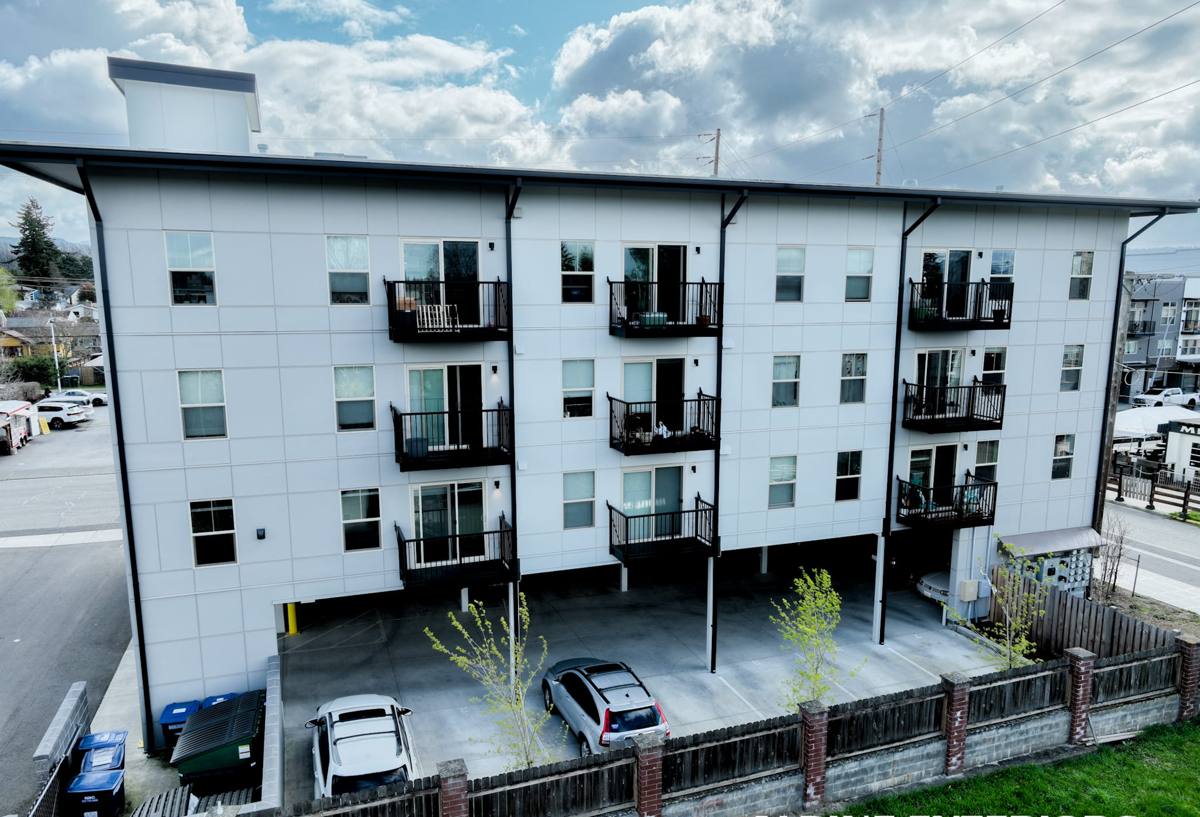
New Construction vs. Replacement Installation — Why the Method Matters
New-construction windows are installed with a nailing fin (sometimes called a flange) that fastens directly to the framing before the weather-resistive barrier (WRB) and siding go on. That's different from a replacement or "pocket" window, which gets inserted into an existing frame after the wall is already closed in. The nailing-fin method is actually the better installation when it's available, because it lets us tie the window's flashing directly into the WRB in a continuous, shingle-lapped sequence — water sheds down and out at every layer, the way it's supposed to.
The trade-off is that new construction only gives you this opportunity once per opening. On a remodel or a replacement job, a poorly sealed window can sometimes be caught and corrected later. On new construction, the sill pan, flashing tape, and head flashing all get buried under siding and interior wall finishes. If they're not done correctly the first time, the fix later on means removing exterior finishes to get back to the opening — a far bigger job than doing it right during framing.
What Snohomish County Weather Demands From Every Window Opening
Salt Air and Corrosion-Prone Hardware
Lynnwood's proximity to Puget Sound means the air carries a fine amount of salt, especially closer to the water and on exposed elevations. Over years, that salt content accelerates corrosion on cheap fasteners, unprotected metal flashing, and low-grade hardware. We spec corrosion-resistant fasteners and flashing materials for new-construction window openings for exactly this reason — it's a small cost difference during construction and a meaningful difference in how the window operates ten or fifteen years down the road.
Driving Rain and Wind-Driven Moisture
Storms coming off the Sound don't just drop rain straight down — wind pushes it sideways and up under trim, sills, and poorly lapped flashing. A window that would perform fine in a drier climate can leak here if the head flashing is missing, undersized, or not integrated with the WRB correctly. This is the single biggest reason new-construction window failures show up in this region: not bad windows, but flashing details that were skipped or done out of sequence.
A Long Moss and Mildew Season
Snohomish County's wet season stretches long enough that any spot where water sits — a sill without proper slope, a low point in flashing, a gap in caulking — becomes a place where moss, algae, and mildew take hold. On siding this shows up as green or black staining; around windows it often shows up first as a soft spot in trim or a failed sealant joint. Correct sill pan slope and drainage during installation is what keeps water moving instead of sitting.
What a Correct New-Construction Window Installation Involves
A window installation that's built to last in this climate follows a specific sequence, not just "set it and caulk it." Every one of these steps matters, and skipping any of them is how leaks happen years later instead of on day one.
- Sill pan flashing installed and sloped so any water that gets past the window drains back outside, not into the wall cavity
- Self-adhered flashing tape lapped shingle-style with the weather-resistive barrier, not just caulked over the top of it
- Head flashing or a drip cap set above the window to break the path of wind-driven rain before it reaches the top seal
- Window checked for square, plumb, and level before final fastening — a slightly racked frame stresses seals and hardware over time
- Low-expansion, window-rated foam or a backer rod and sealant used around the frame, never standard high-expansion foam that can bow vinyl frames inward
- Nailing fin fastened at every manufacturer-specified location, not just the four corners
- Kick-out flashing added anywhere a roofline meets a wall near a window opening, so roof runoff doesn't dump directly onto the window head
- Installation documented to match the manufacturer's published instructions, since most window warranties are void if the install doesn't follow their approved method
Window Material Options for New Builds in This Climate
Vinyl
Vinyl is the most common choice for new-construction windows in this region, and for good reason — it doesn't corrode, doesn't need repainting, and performs well against moisture when the frame is well-made. The trade-off is that lower-grade vinyl can warp or discolor over time in constant sun-and-rain cycling, so frame quality matters more than the label "vinyl" by itself.
Fiberglass
Fiberglass frames expand and contract with temperature at close to the same rate as glass, which reduces stress on seals over the life of the window. It costs more than vinyl but holds paint well if a homeowner wants a custom color, and it resists the corrosion concerns that come with salt-influenced air.
Wood and Wood-Clad
Wood-clad windows (wood interior, metal or vinyl exterior cladding) give a traditional look and are common in higher-end new construction. The clad exterior handles weather reasonably well, but any spot where the cladding is compromised exposes wood underneath to this region's long wet season — so these need attentive flashing and, over the years, more attentive maintenance than an all-vinyl or all-fiberglass unit.
Aluminum
Aluminum frames are strong and slim, which some homeowners like for larger openings, but bare aluminum conducts cold and can condense moisture on the interior in our winters unless it has a thermal break. We treat that as a factor to plan for, not a reason to avoid aluminum outright — it depends on the specific product and application.
What Drives Cost on a New-Construction Window Project
Every new build is different, so instead of a flat price, it's more useful to know what actually moves the number up or down. Broadly, new-construction window installation ranges from a modest per-opening cost for standard vinyl units in typical sizes, up to considerably more for large-format, triple-pane, or wood-clad windows — the factors below explain why.
| Cost Factor | What Changes | Why It Matters in Lynnwood |
|---|---|---|
| Frame material | Vinyl, fiberglass, wood-clad, or aluminum | Marine air and constant moisture cycling favor materials that resist corrosion and don't need repainting |
| Glazing package | Double vs. triple pane, Low-E coatings, argon or krypton fill | Better glazing helps with both energy performance and interior condensation control during our wet, cool months |
| Window size and configuration | Standard sizes vs. large-format or structural openings | Bigger openings may need engineered headers and more careful flashing at wider spans |
| Flashing and sill pan detailing | Time and materials for a full flashing sequence at each opening | This is the labor that actually keeps driving rain out — it's not optional in this climate |
| Egress and code compliance | Tempered glass, minimum egress dimensions in bedrooms | Local building codes require this regardless of climate, but it does affect unit selection and cost |
| Hardware finish | Standard vs. corrosion-resistant hardware and fasteners | Salt-influenced air shortens the life of lower-grade hardware near the coast |
Our Installation Process, From Framing to Closed-In Walls
On a new build, timing matters as much as technique. Here's the sequence we follow on a typical Lynnwood project:
- Review the plans with the builder or homeowner and confirm rough opening sizes, egress requirements, and the window schedule before any units arrive on site
- Verify each rough opening is square and properly sized, and confirm the weather-resistive barrier is installed and lapped correctly before a single window goes in
- Install sill pan flashing at every opening, sloped outward, before the window is set
- Set each window plumb, level, and square, then fasten the nailing fin at every point the manufacturer specifies
- Integrate flashing tape and head flashing with the WRB in the correct shingle-lap sequence so water sheds outward at every layer
- Seal and insulate the interior gap with appropriate low-expansion materials, then walk each opening before siding or interior finishes close it in
- Coordinate timing with the siding crew — often the same crew — so the drainage plane stays continuous from window to wall with no gaps
- Final walk-through to confirm every unit operates correctly, is weathertight, and the site is left clean
Coordinating Windows With Siding and the Drainage Plane
One of the most common sources of leaks on new construction isn't a bad window or bad siding — it's the gap between two separate trades who each assume the other handled the transition. The window installer laps the flashing one way, the siding crew shows up weeks later and doesn't know exactly how it was done, and a small gap gets covered instead of caught. When we handle both the window flashing and the siding on a new build, that handoff disappears. The same crew controls the drainage plane from the window's rough opening all the way out to the finished siding, which means there's one continuous system instead of two trades hoping the other one got it right.
This matters more in Snohomish County than it would somewhere drier, simply because driving rain and a long wet season give water more chances to find any gap in that system. A continuous, well-documented drainage plane is the difference between windows that stay dry for the life of the house and ones that develop a slow leak nobody notices until there's visible damage.
Why Hire a Crew That Already Works in Lynnwood
Building codes, permit requirements, and inspection expectations vary somewhat by jurisdiction, and a crew that regularly works in Lynnwood and the surrounding Everett area already knows what local building departments look for at framing and flashing inspections. That familiarity saves time and avoids the back-and-forth of correcting something during an inspection that a local crew would have caught beforehand. It also means we've already seen how homes in this specific area hold up over time — which elevations take the worst of the driving rain, where moss tends to establish first, and which details are worth the extra attention during installation rather than skipping to save an hour.
We also stand behind the installation itself, not just the window unit's factory warranty. If a flashing detail or seal isn't performing the way it should, that's on us to make right — which is part of why we're careful about the sequence in the first place.
If you're planning new construction in Lynnwood and want windows installed by a crew that treats the flashing and drainage details as seriously as the windows themselves, we're happy to walk the plans with you and provide a free, no-pressure estimate. There's no obligation — just a straight look at what your project needs.