 Everett
 Windows Built for Where You Live
Delta sits close enough to the water and the weather patterns off Puget Sound that your windows take a different kind of beating than a house forty miles inland. Salt-laden air, wind-driven rain that hits glass and trim sideways instead of straight down, and a moss season that can stretch for most of the year all work on window seals, frames, and hardware in ways that show up slowly — then all at once. A window that's merely "fine" in a dry climate can be actively costing you money and comfort here, long before it looks broken.
This page is about one thing: getting energy-efficient windows right for Delta homes specifically — what the climate demands, what a correct installation actually involves, and how we handle the job from first look to final seal.
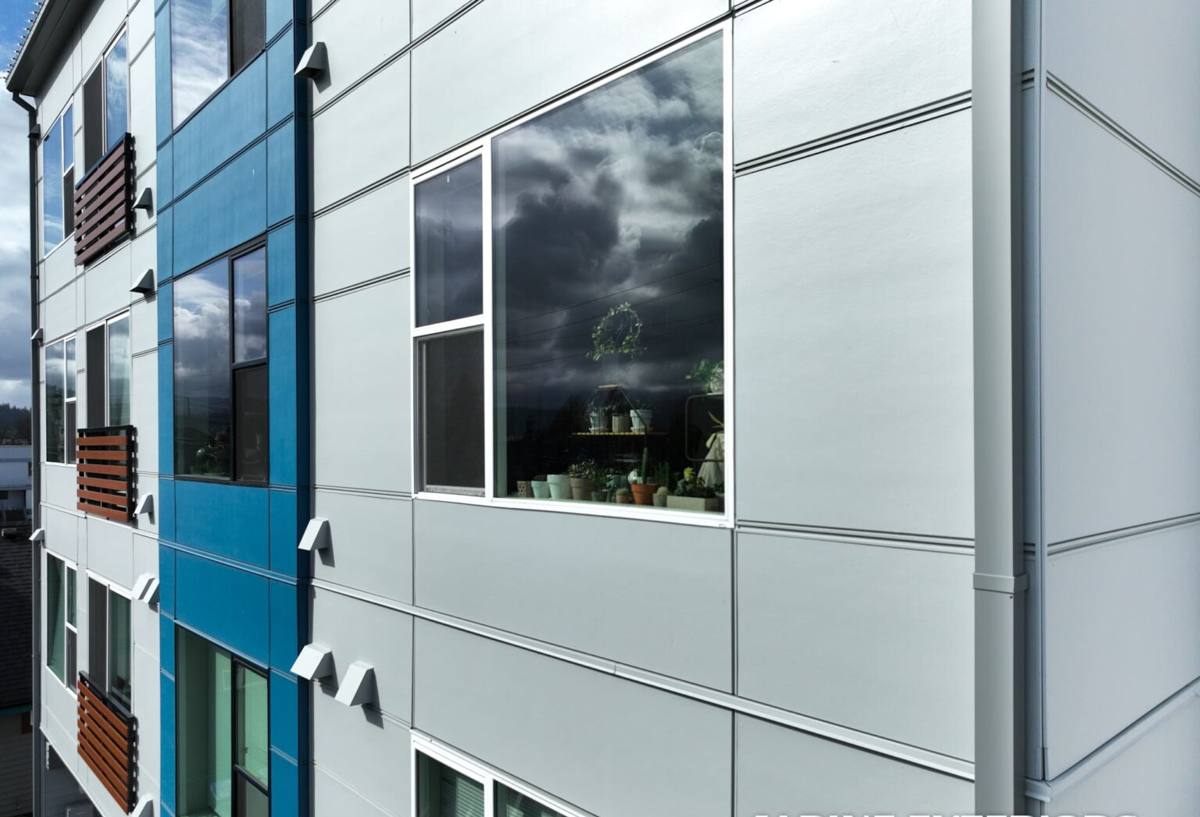
What Salt Air, Driving Rain, and Moss Season Actually Do to Windows
Each of these factors attacks a different part of the window, and together they compound.
Salt air
Airborne salt is corrosive to metal hardware — hinges, locks, balance systems, and some aluminum components — and it accelerates the breakdown of certain sealants and finishes over time. Homes closer to open water or exposed to onshore wind see this faster than sheltered lots.
Driving rain
Rain that comes in at an angle, rather than falling straight, puts pressure on flashing, sill pans, and the seal between the window frame and the wall — the parts of the job you don't see once trim is back on. A window can look watertight and still leak if that hidden flashing detail was rushed.
Moss and sustained moisture
Long stretches of damp, low-sun weather keep moss and algae active on sills, tracks, and exterior trim for much of the year. Beyond the cosmetic issue, sustained moisture against wood trim or poorly sealed frames is exactly the condition that leads to rot and slow water intrusion behind the window.
None of this means Delta homes need exotic products — it means ordinary, good products need to be installed with the moisture management and material choices treated as seriously as the glass itself.
Signs Your Current Windows Are Underperforming
Most window problems don't announce themselves with a flood. They show up as small, easy-to-ignore signals first.
- Visible condensation or fogging between the panes (a sign the seal has failed and the gas fill, if any, is gone)
- Cold drafts near the frame even when the window is fully latched
- Sills or bottom corners that stay damp, discolor, or feel soft to the touch
- Difficulty opening, closing, or locking — often from swollen frames or corroded hardware
- Visible moss, black streaking, or paint failure on the exterior trim around the window
- A noticeable jump in heating costs during the wetter, windier months
- Noise transmission that seems louder than it used to be, suggesting the seal has degraded
One or two of these on an older window is normal wear. Several at once, especially paired with visible trim damage, usually means it's time to look at replacement rather than another repair.
What "Energy-Efficient" Should Mean Here
Energy efficiency for a window is really a combination of glass performance, frame material, and installation quality — and for this climate, all three matter about equally.
Glass
Low-E coatings and insulated (double- or triple-pane) glass units reduce heat loss and cut down on the radiant cold you feel sitting near a window on a windy winter evening. The gas fill between panes and the quality of the edge seal are what typically fail first in a marine climate, which is why seal quality matters as much as the glass spec on paper.
Frame material
Frame choice affects both energy performance and how the window holds up to damp, salt-tinged air over the long run.
| Frame Material | Energy Performance | Considerations for Delta's Climate |
|---|---|---|
| Vinyl | Good, consistent insulation; no thermal bridging | Low maintenance, resists moisture well; a solid all-around choice for coastal exposure |
| Fiberglass | Very good; dimensionally stable | Handles temperature and moisture swings with minimal expansion/contraction; higher upfront cost |
| Aluminum | Weaker unless thermally broken | Prone to corrosion in salt air over time unless properly coated and thermally broken; needs careful spec |
| Wood | Good with proper cladding | Needs consistent maintenance and moisture management; higher risk of rot without diligent upkeep in a wet climate |
Installation
Even the best-rated window underperforms if it's set into a wall without proper flashing, a correctly sloped sill pan, and continuous sealant at the right layers. This is the part of "energy-efficient windows" that never shows up on a spec sheet but matters most once the weather starts driving rain sideways.
What a Correct Installation Actually Involves
Replacing a window is straightforward in concept — remove the old unit, set the new one, seal it — but doing it correctly in a wet, wind-exposed area involves several steps that are easy to shortcut and hard to fix later without pulling trim back off.
- Opening inspection — checking the rough opening and surrounding framing for existing rot, moisture damage, or prior flashing mistakes before anything new goes in.
- Sill pan and flashing — installing a sloped, sealed sill pan and integrating flashing with the building's water-resistive barrier so water is directed out, not into the wall cavity.
- Air sealing and insulation — filling the gap between the frame and rough opening properly, avoiding both gaps (drafts) and over-packing (frame distortion).
- Exterior sealant and trim — sealing joints with products rated for the exposure, then finishing trim in a way that sheds water rather than trapping it against the frame.
- Operation check — confirming every sash opens, closes, and locks smoothly, since a window that's hard to latch rarely stays sealed well for long.
Skipping any one of these doesn't usually cause an immediate problem. It shows up eighteen months to a few years later as a soft sill, a stained interior wall, or a window that suddenly won't seat tight during the next windstorm.
Our Process for a Delta Window Project
1. On-site assessment
We walk the exterior and interior of each window being considered, check for existing moisture or rot around openings, and talk through which rooms are the biggest priority — often the ones facing prevailing wind and rain.
2. Product selection based on exposure
Not every window on a house needs the same spec. A wall that takes the brunt of driving rain and salt air may warrant a different frame material or added flashing detail than a sheltered window on the opposite side of the house.
3. Installation with moisture management as a first-class step
Flashing and sealing aren't an afterthought to "getting the window in" — they're planned and executed as their own step, checked before trim goes back on.
4. Final walkthrough
Every window is operated, checked for square and smooth function, and inspected from both inside and outside before we consider the job done.
Choosing the Right Windows: Cost Factors
Window pricing varies by size, style, frame material, glass package, and how much of the surrounding trim or siding needs to be opened up to do the job right. Rather than quote a number that won't reflect your actual house, here's what actually moves the price:
| Factor | Why It Matters |
|---|---|
| Frame material | Vinyl is typically the most budget-friendly; fiberglass and clad-wood cost more but bring different durability and appearance trade-offs |
| Glass package | Double-pane Low-E is standard; triple-pane or upgraded coatings add cost and incremental efficiency |
| Opening condition | Hidden rot or old flashing failures discovered during removal add labor to repair the opening before the new window goes in |
| Window style | Fixed windows are simplest; casements, sliders, and larger operable units involve more hardware and labor |
| Number of openings | Doing a whole elevation or the full house at once is generally more cost-effective per window than one-off replacements over time |
Why Local Experience in Delta Matters
A window that performs well in a drier part of the state isn't automatically the right call a few blocks from the water in Everett. Knowing which walls in this area typically take the worst of the wind and rain, how moss and moisture behave on north- and west-facing trim through the wetter months, and which frame and flashing choices actually hold up here comes from working this specific area, not from a spec sheet. That experience shapes decisions on-site — where to add extra flashing, which frame material makes sense for a given exposure, and when a window opening needs more repair before the new unit ever goes in.
It also matters for Snohomish County's permitting and code requirements, which our crews are familiar with from ongoing local work rather than looking them up fresh each time.
If your windows are drafty, fogging, or just older than you'd like them to be, we're happy to take a look and give you an honest read on repair versus replacement. Reach out for a free, no-pressure estimate using the form below.