 Everett
 Why Siding Wears Differently in Everett's Delta Neighborhood
Homes in the Delta neighborhood sit close enough to Puget Sound and the Snohomish River delta that salt-laden air is part of daily life, even on a clear day. Add in Western Washington's long, driving rain season and the shaded, damp stretches of the calendar when moss and algae take hold on north- and west-facing walls, and you've got a combination that punishes siding faster than most homeowners expect. This isn't a coastal-Florida kind of salt exposure, but it's persistent, low-grade, and it adds up over a couple of decades — corroding fasteners, degrading caulk, and softening any siding material that isn't built to shrug off constant moisture.
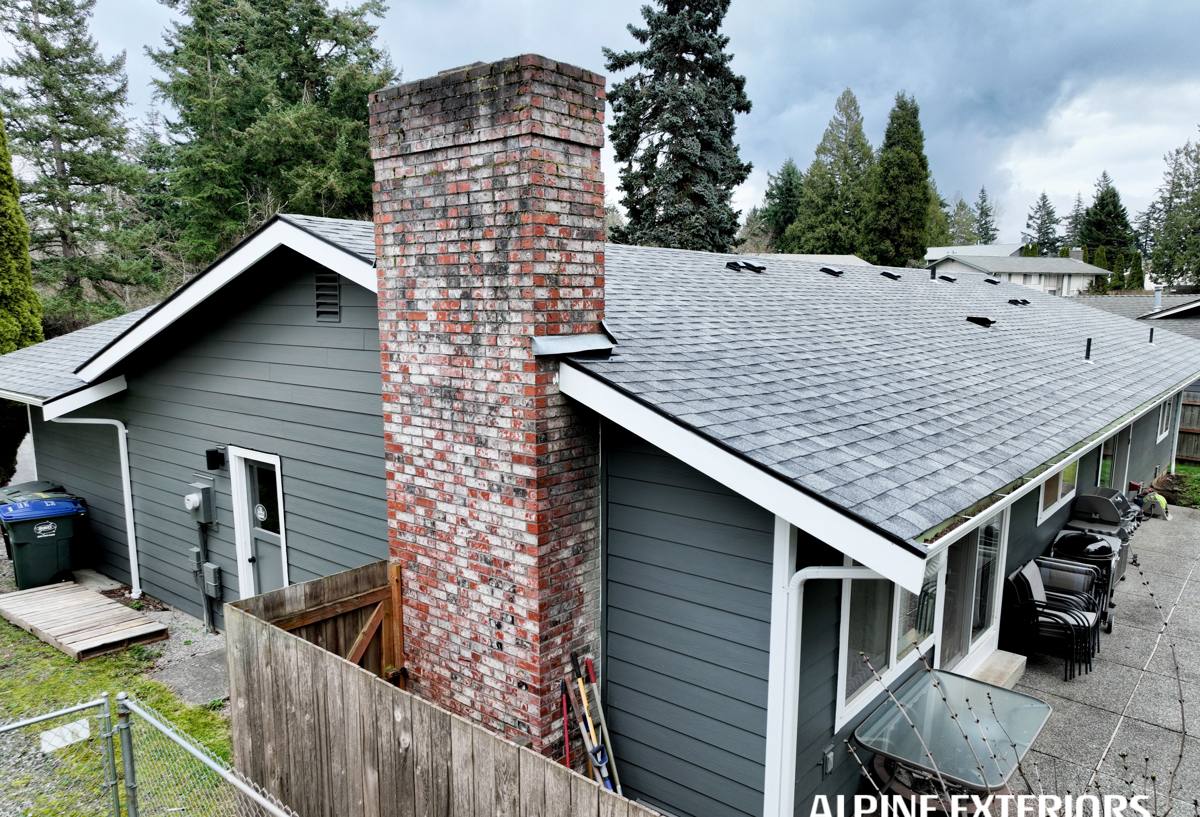
Delta's mix of older single-family homes and newer infill construction means we see every generation of siding decision on the same block: original wood lap that's been painted a dozen times, 1990s vinyl that's chalky and brittle, and newer fiber cement that's holding up exactly as it should. Understanding which category your house falls into — and what the climate has already done to it — is the starting point for any real replacement conversation.
Signs a Delta Home Is Overdue for Siding Replacement
Siding failure in this climate rarely shows up as one dramatic problem. It's usually a slow accumulation of small ones that, together, mean the wall assembly behind the siding is no longer protected the way it should be.
- Soft or spongy spots when you press on siding near the bottom courses or around window trim
- Persistent green or black staining that comes back within weeks of being cleaned
- Paint that won't hold — bubbling, peeling, or needing a fresh coat every 2-3 years instead of 7-10
- Visible gaps, warping, or buckling panels, especially on the sides of the house that face prevailing wind and rain
- Musty smell or discoloration on interior walls that back up to exterior siding
- Fastener heads showing rust streaks or starting to back out of the panel
Any one of these on its own might just need a repair. Several at once, especially combined with siding that's already 20-plus years old, usually means the material has reached the end of what it can protect against — and patching it delays a full replacement without solving the underlying moisture problem.
What a Correct Siding Replacement Actually Involves
It Starts Underneath the Siding, Not With It
The single biggest mistake in siding replacement is treating it as a cosmetic swap — new panels over whatever's already there. A correct job starts with full tear-off so the crew can actually see the sheathing. In a wet climate like Snohomish County, that inspection matters more than almost anything else on the job: rotten sheathing, saturated insulation, or failed flashing around windows and doors has to be found and fixed before a single new panel goes up, or the new siding is just covering the same problem.
The Weather-Resistive Barrier and Flashing Details
Behind every properly installed siding job is a continuous weather-resistive barrier (WRB) — a housewrap layer that manages the water that inevitably gets past the outer siding. Around Everett's rain volume, the details matter as much as the material: window and door flashing has to be integrated with the WRB in the correct shingle-lap order (so water sheds outward and down, never inward), and every penetration — vents, hose bibs, light fixtures — needs its own flashing and sealant detail. Skipping or rushing this step is the most common reason a siding job that looks fine on day one starts failing behind the walls within a few years.
Fastening, Clearances, and Finish
Correct fastener spacing and depth, proper clearance between siding and grade, decks, and roof lines, and factory-matched caulking at seams all affect how well the assembly performs over the next several decades — not just how it looks the day the crew leaves.
Why We Install Only James Hardie Fiber Cement
We don't install vinyl, LP SmartSide, primed wood, or other fiber cement brands, and that's a deliberate standard, not a limitation of what we're capable of doing. In a climate that combines constant moisture with a real moss and algae season, the materials that struggle are the ones that either trap water (vinyl can warp and its seams let moisture behind the panel), require ongoing paint and moisture maintenance (wood and primed products), or depend heavily on installer precision to avoid moisture intrusion at the panel edges (engineered wood).
James Hardie fiber cement is non-combustible, dimensionally stable in wet-dry cycling, and its HZ5 product line is specifically engineered for the kind of freeze-thaw and moisture exposure Pacific Northwest homes see. The factory-applied ColorPlus finish is baked on under controlled conditions rather than field-painted, which means better color retention and fewer repaint cycles over the life of the siding — a real advantage when Everett's damp shoulder seasons make field-applied paint jobs harder to get right. It's backed by a strong transferable warranty, which matters to homeowners who may sell before the siding's functional life is up. We standardized on it because, installed correctly, it's the material best suited to what this specific climate does to a house over 20-30 years.
Our Process for Delta-Area Homeowners
We already work regularly in and around the Delta neighborhood, which changes how a project runs in a few practical ways: we know the lot sizes and setbacks typical to the area, we're familiar with the City of Everett's permitting process, and we're not learning the neighborhood's access and parking realities for the first time on your job.
Assessment and Scope
We start with a walk-around inspection, checking not just the siding but trim, flashing, and any visible signs of moisture damage. We'll tell you honestly if a section can be repaired versus what genuinely needs full replacement — we're not incentivized to oversell a job.
Permitting and Prep
Siding replacement in Everett typically requires a permit; we handle that process and coordinate inspections so it isn't something you have to manage. Before tear-off begins, we protect landscaping, walkways, and adjacent surfaces.
Installation and Cleanup
Tear-off, sheathing repair where needed, WRB and flashing installation, then Hardie panel or plank installation to manufacturer spec, followed by full site cleanup — including magnetic sweeps for stray fasteners, which matters if you've got kids or pets in the yard.
Cost Factors for Delta Siding Replacement
Every house is different, but these are the variables that most often move a siding replacement estimate up or down. We'll walk through each one specific to your home during a free assessment rather than quoting a number sight unseen.
| Factor | Why It Matters |
|---|---|
| Condition of existing sheathing | Rot or water damage found during tear-off requires repair before new siding goes on — this is the most common source of scope changes |
| Home size and wall complexity | More corners, dormers, and trim details mean more labor and material cuts |
| Siding profile chosen | Lap siding, panel siding, and shingle-style Hardie products differ in material and labor cost |
| Story count and access | Two-story walls and tight side-yard access (common on smaller Delta lots) affect equipment and labor time |
| Trim and accessory scope | Replacing trim boards, fascia, or soffits alongside siding adds cost but avoids mismatched materials aging at different rates |
| Color and finish | Factory ColorPlus finishes carry a different cost than field-painted options, but reduce long-term repaint expense |
Choosing a Contractor Who Already Works in Delta
Hiring locally isn't just a convenience preference — it affects the quality of the job itself. A crew that already works in the Delta neighborhood knows which walls take the worst weather exposure on a typical lot orientation here, has an established relationship with the City of Everett permitting office, and isn't guessing at how local moisture and moss patterns should shape installation details.
- Ask for proof of James Hardie manufacturer training or certification, not just general contracting experience
- Confirm they pull permits themselves rather than asking you to
- Ask how they handle sheathing repair if it's found during tear-off — get this in writing before work starts
- Check that the written estimate specifies WRB and flashing details, not just "siding installation"
- Confirm licensing, bonding, and insurance, and ask for the manufacturer warranty terms in writing
- Ask about their timeline given Snohomish County's rain patterns — a contractor who plans around weather windows is one who's done this here before
What to Expect After Installation
Correctly installed James Hardie siding is genuinely low-maintenance, but "low" isn't "none." Rinse the exterior periodically to keep salt residue and organic growth from building up, especially on shaded sides of the house where moss tends to take hold first. Check caulking at trim joints every couple of years, and keep an eye on anywhere landscaping or sprinklers direct water onto the wall directly. Beyond that, the factory finish and the material's stability in wet-dry cycling do most of the work — which is the whole point of choosing a product engineered for exactly this climate rather than one that requires you to fight the weather every season.
If your Delta-area home is showing any of the wear signs above, or you're just planning ahead, we're happy to take a look and give you a straight answer about what your siding actually needs. Reach out below for a free, no-pressure estimate — we'll walk the house with you and explain exactly what we find.