 Everett
 New-Construction Windows for Eastmont Homes
When a home in Eastmont is being framed — whether it's a new build, an addition, or a garage conversion getting real walls for the first time — the windows go in before the siding does. That single fact changes almost everything about how the job should be done. New-construction windows aren't just "windows installed in a new house." They're windows installed using the nailing-fin method, tied directly into the home's weather-resistive barrier while the wall is still open and everything is still accessible. Get that sequence right and the wall will shed water for decades. Get it wrong and the mistake gets buried under siding, where nobody finds it until there's a stain on the drywall.
We install new-construction windows for builders, remodelers, and homeowners around Eastmont and the rest of Everett. This page covers what the job actually involves, what our climate here in Snohomish County demands from it, and how we run the work so it holds up.
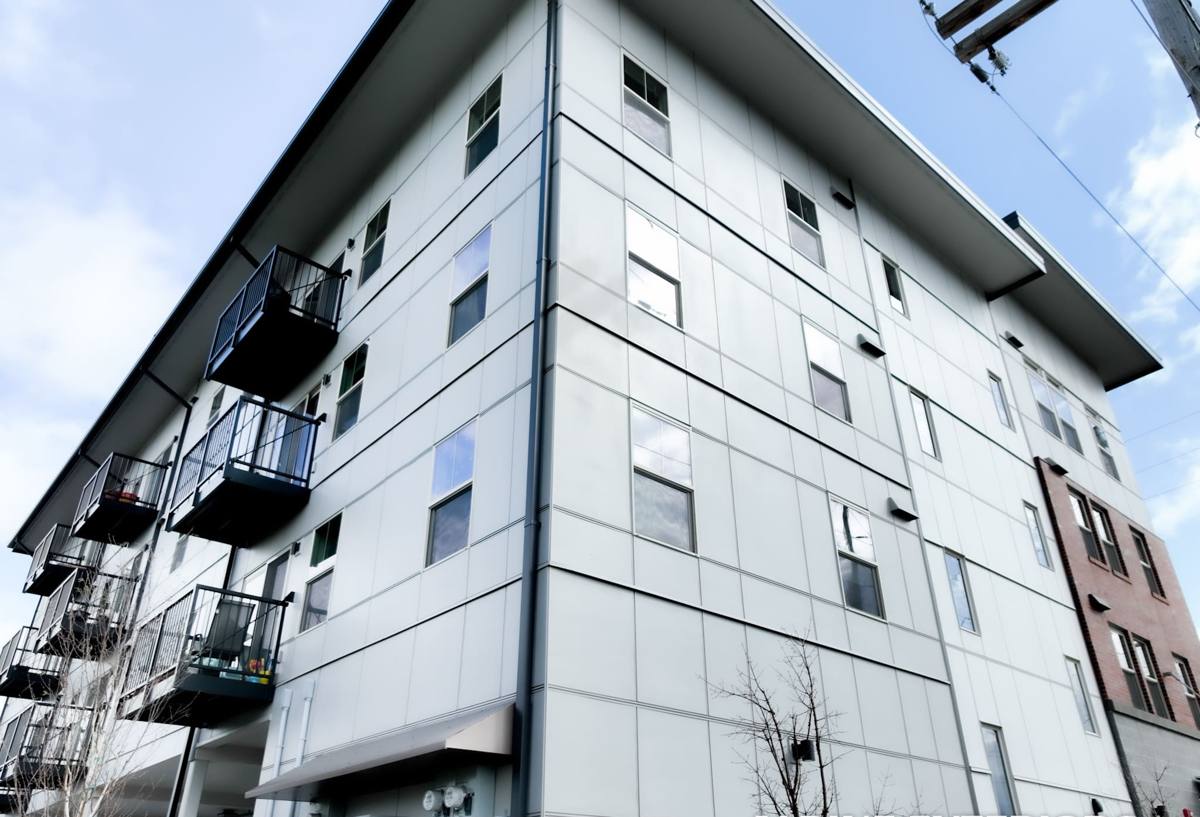
What Eastmont's Climate Asks of a New Window Install
Everett sits close enough to the water that salt air, driving rain, and a long stretch of damp, mossy weather each year all show up on the exterior envelope. None of that is unique to Eastmont, but it's a real, year-round load on any window installation in this part of town, and it's worth planning for at the framing stage rather than patching around later.
Salt Air and Hardware Corrosion
Homes closer to the water deal with airborne salt that accelerates corrosion on exposed metal — fasteners, flashing, hinges, and cranks. It's a slow process, but over years it can eat through the wrong grade of hardware. We spec corrosion-resistant fasteners and flashing components on new-construction jobs in this area rather than whatever happens to be cheapest at the supply house.
Wind-Driven Rain and Water Management
Rain here doesn't always fall straight down. Wind pushes it sideways and up under trim, siding laps, and window flanges. A new-construction window relies entirely on its flashing and the way it's integrated into the wall — not caulk — to keep that wind-driven water out. If the flashing sequence is wrong, wind-driven rain will find the gap.
A Long Moss Season Means Prolonged Moisture Exposure
Everett's wet season runs long, and surfaces that stay damp for months at a time grow moss and algae faster than most homeowners expect. On windows, that shows up on sills and horizontal trim that don't shed water fast enough. It also means any flashing tape, sealant, or sill pan installed today needs to perform under sustained moisture exposure for months every year, not just survive an occasional storm.
New-Construction vs. Replacement: Why the Install Method Matters
A lot of homeowners assume "window installation" is one job. It isn't. Replacement windows are fitted into an existing, finished wall opening, usually without removing siding, and they lean on the existing exterior trim and flashing already in place. New-construction windows are set into a bare, open stud wall before the weather barrier and siding go on, using a nailing fin that gets flashed directly into the housewrap. The two methods solve different problems, and using the wrong one — or treating a new-construction opening like a replacement — is where a lot of leaks start.
| Factor | New-Construction Install | Replacement Install |
|---|---|---|
| When it happens | During framing, before siding and WRB are closed in | After the home is finished, wall stays closed |
| How it's secured | Nailing fin fastened to sheathing, fully accessible | Fastened through the existing frame or pocket |
| Water management | Flashing integrates directly with the housewrap | Relies on existing trim, flashing, and sealant joints |
| Access for correction | Full access to fix problems before covering | Limited — most of the wall is already finished |
| Best fit | New builds, additions, room conversions | Existing homes keeping their current siding |
What a Correct New-Construction Window Install Involves
Rough Opening Prep
Before a window ever goes in, the rough opening gets checked for square, level, and correct size against the window's actual dimensions — not just the plan set. Sheathing gets inspected for damage, gaps, or anything that won't hold a fastener properly. Skipping this step is the single most common reason a window ends up out of plumb or racked.
Sill Pan Flashing
The sill of the rough opening gets a sloped, back-dammed pan flashing installed first, before the window ever touches the opening. Its job is simple: if any water ever gets past the window, the pan carries it back outside instead of into the wall framing. In a climate with as much sustained rain as Everett gets, we treat this as non-negotiable, not optional upgrade.
Setting the Window
The window gets shimmed plumb, level, and square, then fastened through the nailing fin into solid framing per the manufacturer's fastening schedule. A window that's slightly out of square will bind, won't seal against its own weatherstripping correctly, and will wear out its hardware faster — problems that show up years later, long after installation.
Flashing Sequence (Shingle-Lap Method)
Flashing tape goes on in a specific order — sill first, then the side jambs, then the head flashing last, each layer overlapping the one below it like shingles on a roof. That sequence is what actually keeps wind-driven rain moving down and out instead of behind the housewrap. Head flashing gets integrated up under the housewrap above the window, never just taped over the top of it.
Air Sealing from the Inside
Once the window is set, the gap between the frame and the rough opening gets sealed with low-expansion foam or backer rod and sealant — enough to control air leakage and condensation risk, not so much that it bows the frame. This step also matters for energy performance, since an unsealed gap around every window in a house adds up on a heating bill.
Frame Material and Product Considerations for This Climate
There's no single "best" window frame material for every job — it depends on budget, exposure, and what the rest of the home is doing. But in a climate with salt air and a long wet season, some trade-offs matter more here than they would somewhere drier and further inland.
| Frame Material | Strengths in This Climate | Trade-Offs to Weigh |
|---|---|---|
| Vinyl | Won't corrode or rust; low maintenance; budget-friendly | Can expand/contract with temperature swings; frame color options are more limited |
| Fiberglass | Very stable in moisture and temperature swings; strong, thin sightlines | Higher upfront cost than vinyl |
| Aluminum | Strong, slim frames good for large openings | Conducts cold and can corrode faster near salt air without proper coatings |
| Wood / Wood-Clad | Traditional look, good insulating properties | Needs consistent maintenance to keep moisture from reaching the wood core |
We'll walk through which option fits your project's budget and exposure honestly — including telling you when a cheaper option is a fine choice and when it isn't, rather than upselling every job to the priciest frame on the shelf.
Our Process on New-Construction Jobs in Eastmont
Pre-Install Walk
Before we install a single window, we walk every rough opening on the job with the builder or homeowner, checking sizing, framing condition, and sheathing. Anything that needs correcting gets flagged before it's our problem to install around.
Install and Documentation
We install using the manufacturer's approved flashing method for each product line, and we photograph the flashing detail at every opening before siding closes the wall up. That documentation matters for warranty coverage and gives you a record of exactly how your walls were built, not just a memory of it.
Final Walkthrough Before Siding Closes It In
Once every window is set and flashed, we do a final check of the whole envelope — flashing laps, fastener patterns, sealant joints — before siding crews cover it up. This is the last point where a mistake is cheap and easy to fix instead of a warranty callback two winters from now.
Mistakes We See on New-Construction Window Installs
Most window leaks in newer homes don't trace back to a bad window — they trace back to a shortcut in the install. A few we see most often on jobs we're called in to fix or inspect:
- Head flashing taped over the housewrap instead of tucked underneath it
- No sill pan, or a flat sill pan with no slope to carry water back out
- Fasteners driven into shims or trim instead of solid framing
- Caulk used as the primary water barrier instead of proper flashing
- Windows set slightly out of square, causing early hardware wear
- Interior gaps left unsealed, leading to drafts and condensation risk
Why a Crew That Already Works Eastmont Matters
A window installed correctly on paper still has to perform against Eastmont's actual weather — the salt air drifting in off the water, the wind-driven rain that hits from an angle, the months of damp weather that don't let up. A crew that installs windows across Everett and Snohomish County regularly sees how these details hold up over years in this specific climate, not just on install day. That's the difference between a flashing detail that looks fine in the moment and one that's actually built for what this area throws at it. It also means if a warranty question or callback comes up down the road, you're working with a crew that's local and easy to reach, not chasing down a company that installed once and left town.
If you're framing a new home, an addition, or a room conversion in Eastmont and want windows installed right the first time, we're happy to walk the rough openings with you and give you a straightforward, no-pressure estimate — just fill out the form below.