 Everett
 New-Construction Windows in Lake Stevens: Why It's a Different Job Than a Retrofit
When a house is being built from the studs out, window installation isn't a standalone project — it's one link in a chain that includes framing, the weather-resistive barrier (WRB), flashing, and siding. Get that sequence wrong and the mistake gets buried behind finish materials for years, sometimes surfacing as a stain on drywall long after the crew that caused it has moved on to the next job. In a retrofit, you're working around an existing wall assembly and doing your best to seal what's there. In new construction, you get to build the water management system correctly from the first layer out — which is both an opportunity and a responsibility.
Lake Stevens has seen a steady run of new home construction and infill building over the past several years, and that means a steady stream of window rough openings that need to be flashed, set, and integrated with siding correctly the first time. This page is about that specific job: new-construction window installation for homes going up in and around Lake Stevens, done by a crew that already works the rest of Snohomish County day to day.
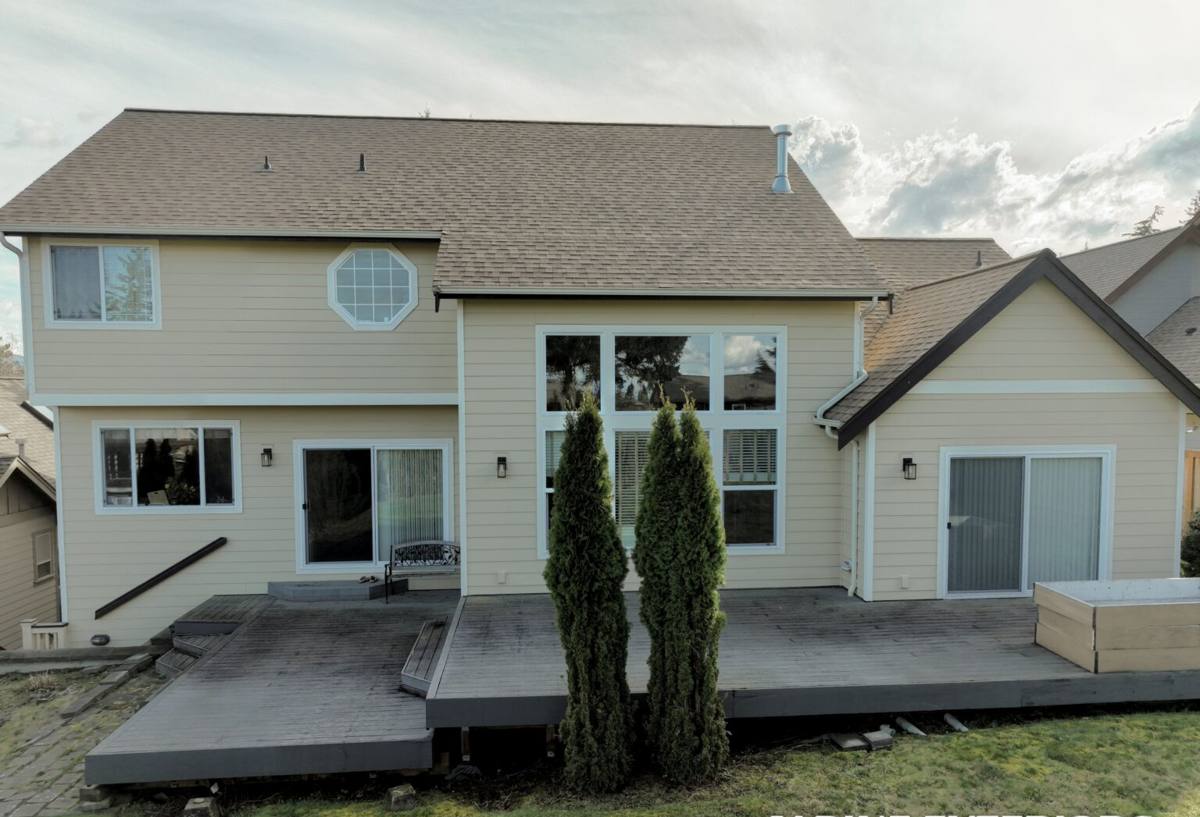
What Snohomish County Weather Demands From a Window Install
Snohomish County runs from salt-air conditions along the Puget Sound shoreline near Everett inland to lake and forest communities like Lake Stevens, and the moisture load doesn't let up much across that range. Lake Stevens homes deal with the same long, wet fall-through-spring stretch as the rest of the county — steady, driving rain rather than short downpours, months of overcast humidity, and a moss season that can run from October into May on north-facing roof and wall surfaces. None of that is dramatic on any single day, but it's relentless over a 30- or 50-year window lifespan.
What that means for a new-construction install, specifically:
- Rough openings need to shed water outward and downward at every layer — sill pan, side flanges, and head flashing all matter, not just caulk at the trim.
- Sealants and tapes have to be rated for the temperature range they'll actually be installed in; cold, damp framing days are common here and some products don't adhere reliably below a certain temperature.
- Any wood trim or sill detail needs a real drainage plane behind it — sitting water against wood in a climate this wet is how rot starts, usually below the sightline where nobody checks it.
- Condensation control matters as much as bulk water control — well-sealed, well-insulated new homes can trap humidity, and the wrong window or installation detail can show up as interior condensation on cold mornings.
Getting the Flashing and Water Management Right — Before the Siding Goes On
The single most consequential part of a new-construction window install happens before the window ever gets bolted to a wall: the sill pan and flashing sequence. Done correctly, water that gets past the window's own weep system drains back out over the WRB rather than into the wall cavity. Done poorly — flashing taped in the wrong order, a sill pan that dead-ends instead of draining, or house wrap lapped backward at the head — the wall looks fine on move-in day and starts failing quietly within a few wet seasons.
The order we follow on every rough opening
- Inspect and, if needed, correct the rough opening framing and sill slope before anything else goes in.
- Install a sloped sill pan so any water that reaches it drains back out over the WRB, not into the framing.
- Set the window per manufacturer instructions, using the fastening pattern and shims specified for that unit — not a generic approach applied to every brand.
- Flash the sides, then the head, in the correct shingle-lap order so each layer drains onto the one below it.
- Integrate the head flashing with the housewrap or WRB above the window before the siding crew closes it in.
This is also where working with a crew that also does siding pays off — the person flashing the window is thinking about how the siding and trim will lap over that flashing later, not just about getting the window plumb and square today.
Window Material and Performance Options for a Lake Stevens Build
New construction gives you more flexibility on window selection than a retrofit does, since you're not constrained by matching an existing frame size or finish. The main options homeowners and builders weigh in this area:
| Frame Material | Strengths in This Climate | Trade-offs |
|---|---|---|
| Vinyl | Good moisture tolerance, no repainting, wide price range | Frame can expand/contract with temperature swings; lower-end lines flex more over time |
| Fiberglass | Very stable dimensionally, strong moisture resistance, holds paint well if colored | Higher upfront cost than vinyl |
| Wood-clad | Warm interior appearance, good insulating properties | Exterior cladding and joints need correct detailing to keep wet-climate moisture out over the long run; more installation-sensitive |
| Aluminum | Slim sightlines, durable frame | Poor thermal performance without a thermal break — generally not our recommendation for this climate without one |
We don't push one brand as the answer for every project. What we do insist on is a documented installation method for whatever product goes in, and performance numbers — U-factor and Solar Heat Gain Coefficient on the NFRC label — that make sense for a Western Washington house rather than a catalog spec written for a different climate zone.
What actually matters more than brand name
- U-factor appropriate for our climate zone (lower is better for heat retention through our long heating season).
- A weep system that isn't blocked by trim, sealant, or installation debris.
- Hardware and locking points that will still operate smoothly after years of humidity exposure.
- A manufacturer warranty that's actually honored through a documented installation — some warranties are void if the installer didn't follow the specified method, which is one more reason correct flashing and fastening matter.
How We Sequence Window Installs With Your Builder
On a new build, we're rarely the only trade on site that week. Framing needs to be complete and roughly squared, the WRB needs to be up (or ready to go up in coordination with our flashing sequence), and the siding crew — sometimes us, sometimes another contractor — needs a clear plan for how their material will lap over our flashing. Getting this timing wrong is one of the more common sources of callbacks in new construction: windows installed before the WRB is properly lapped, or siding closed in before flashing inspection.
Where we're brought in as both the window and siding contractor for a Lake Stevens build, this coordination is simpler because it's one crew making both sets of decisions with the finished wall assembly in mind from day one. Where another contractor is handling framing or siding, we walk the rough openings with them before we start so everyone's clear on lap order and inspection points.
Washington Energy Code and What It Means for Your Window Order
Washington's energy code sets minimum performance requirements for new-construction glazing, and those requirements get checked at permit and inspection — this isn't optional paperwork, it affects what window specs your builder can order. In practice this means paying attention to whole-window U-factor, not just glass performance, since frame material and spacer design both affect the final number on the label. We work from the performance targets your project's energy path requires and help make sure the units ordered actually meet them, rather than finding out at inspection that a substitution fell short.
What a Correct New-Construction Window Job Looks Like — Checklist
- Rough openings checked for square, level, and proper sill slope before any flashing goes in.
- Sloped sill pan installed under every window, no exceptions.
- Flashing tape and sealants rated for the actual installation temperature and substrate.
- Correct shingle-lap order: sill, jambs, head, integrated with the WRB above.
- Fastening pattern and shim placement per the specific window manufacturer's instructions.
- Weep holes and drainage paths confirmed clear before trim or siding closes them in.
- NFRC label performance confirmed against the energy code path for the project.
- Photos of flashing and sill pan details taken before they're covered, for your records and for warranty documentation.
Cost Factors for New-Construction Window Installation
| Factor | Why It Moves the Price |
|---|---|
| Window count and size | More openings and larger units mean more flashing detail work, not just more units to set |
| Frame material | Vinyl, fiberglass, and wood-clad carry different material costs before labor |
| Wall height and access | Second-story and vaulted openings need staging or lift access, which affects labor time |
| Coordination complexity | Jobs where we're also doing the siding are often more efficient than coordinating a hand-off between separate window and siding crews |
| Energy code path | Higher-performance glazing to meet a stricter compliance path costs more per unit than baseline glass |
We'd rather walk your plan set and give you real numbers than throw out a broad range that doesn't reflect your specific build — but as a general starting point, expect new-construction window packages to vary widely by house size, unit count, and material choice, which is exactly why a site- and plan-specific quote matters more than a per-window average.
Why a Crew That Already Works Lake Stevens Matters
A lot of what makes a new-construction window install hold up long-term isn't visible on move-in day — it's the flashing sequence buried behind the trim, the sill pan under the window, the lap order between the WRB and the siding. Hiring a crew that already works Snohomish County day to day means we've seen how these details perform through an actual Puget Sound wet season, not just on a spec sheet. We know what a long moss season does to a wall assembly with a weak drainage plane, and we build accordingly, whether the lot is a few blocks from open water or set back near the lake.
If you're building or having a home built in Lake Stevens and want a straight answer on window scope, sequencing with your builder, or material selection for our climate, we're glad to walk the plans with you. Request a free, no-pressure estimate using the form below and we'll follow up to talk through your project.