 Everett
 New Construction Is Not a Retrofit, and It Shouldn't Be Treated Like One
Replacing an old window means working inside an opening that already exists, with siding and trim already in place around it. New construction is the opposite: the rough opening is framed but nothing has closed it in yet, which means there's a short window of time — while the walls are open and before siding goes on — to get the water management right from the stud out. Get that sequence wrong on a new build and you're not patching a 20-year-old install anymore, you're baking a defect into a house that hasn't been lived in yet.
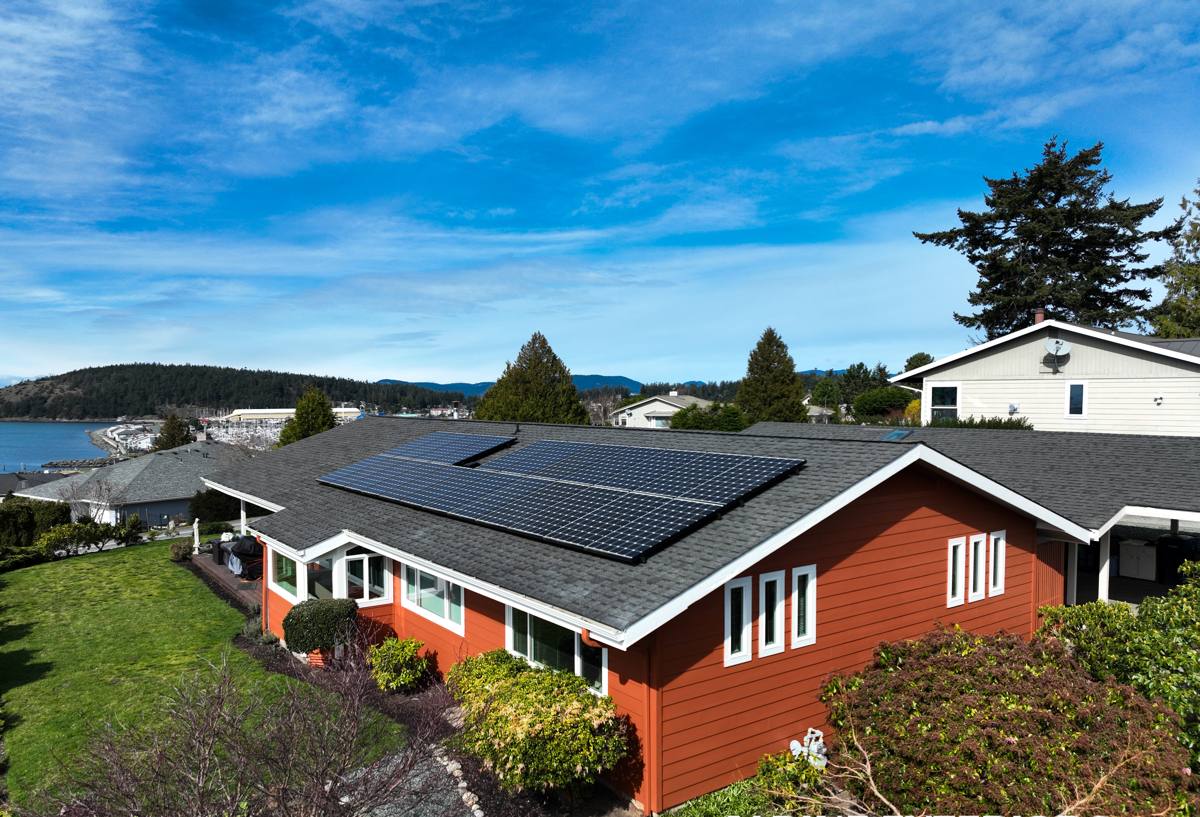
For homes going up in Mukilteo, that sequencing matters more than it does in a lot of inland Snohomish County builds. This is a waterfront community exposed to Puget Sound weather on multiple fronts at once, and the exterior envelope only gets one real chance to be built correctly before the siding covers it up.
What Mukilteo's Waterfront Climate Asks of a New Window Opening
Salt air and hardware fatigue
Homes close to the Sound take on airborne salt that inland Everett properties mostly avoid. It doesn't rot lumber the way standing moisture does, but it accelerates corrosion on fasteners, window hardware, and any exposed metal flashing that isn't rated for it. On a new build, this is the moment to spec corrosion-resistant fasteners and flashing metals up front, instead of discovering pitted hinges or streaking flashing a few years after move-in.
Wind-driven rain off the Sound
Rain in this part of Washington rarely just falls straight down — wind off the water pushes it sideways into window openings, and it finds any gap in the flashing plane that isn't shingled correctly. A window that's simply caulked around the perimeter will hold for a while. One that's properly flashed into the weather-resistive barrier (WRB) with the layers overlapping the right direction will shed that water for the life of the house.
The long moss season
Snohomish County's wet season runs long, and moss and algae take hold on anything that stays damp — window sills, trim boards, and the transition points where windows meet siding. A new-construction install that leaves standing water on a sill or traps moisture behind trim is setting up a moss and rot problem before the house is even a year old. Sloped sill pans and proper drainage gaps prevent that from ever starting.
The Installation Sequence That Actually Keeps Water Out
A correct new-construction window install follows a specific order. Skipping steps or doing them out of sequence is the single biggest reason windows leak in new homes — not the window product itself.
Sill pan before anything else
Every rough opening gets a sloped sill pan before the window ever goes in. This gives any water that gets past the window a way out, instead of a place to pool. On a coastal build like this, we don't skip this step for "just a small opening" — the physics don't care about window size.
Flashing shingled with the WRB, not just taped over it
Flashing tape and integral nailing-fin flashing need to be layered shingle-style with the house wrap: lower courses tucked under upper courses, so water always runs down and over, never into a seam. This is where a lot of production-speed installs cut corners, because it takes more time than just running tape flat across the top.
Head flashing and drip protection
The top of the opening gets its own flashing detail, angled to throw water away from the head jamb rather than let it sit and migrate inward. On a site that sees regular wind-driven rain, this detail is not optional trim — it's doing real work every storm.
Sealant backs up the flashing — it doesn't replace it
Caulk and sealant have a service life, and they will eventually crack, shrink, or fail. If sealant is the only thing keeping water out of an opening, the window will eventually leak. Done correctly, sealant is the last line of defense behind a flashing system that would keep the opening dry even without it.
Choosing Windows and Glazing for This Site
Product selection on a new build isn't just about style. A few factors specific to this climate and Washington's energy code should drive the decision:
- Frame material: vinyl, fiberglass, and aluminum-clad wood all perform differently in coastal, high-moisture conditions — fiberglass and quality vinyl tend to shrug off salt-air exposure with the least maintenance, while clad-wood needs more attention to cladding seams over time.
- Hardware and fasteners: stainless or otherwise corrosion-resistant hardware is worth specifying for anything within a mile or two of the water.
- U-factor and SHGC: Washington State Energy Code sets minimum performance requirements by climate zone, and new construction is inspected against those numbers — this isn't a "nice to have," it's a permit requirement.
- Glazing orientation: south- and west-facing glass benefits from solar heat gain control; north- and water-facing glass in this area is more about wind and rain performance than solar load.
New Construction vs. Replacement Windows: Why the Job Is Different
| Factor | New Construction | Replacement |
|---|---|---|
| Access to the opening | Fully open stud bay, WRB not yet installed | Existing siding and trim must be worked around or removed |
| Flashing method | Full flange, shingled into WRB from scratch | Retrofit flanges or "insert" units into the existing frame |
| Sill pan installation | Straightforward, done before window is set | Requires opening up existing sill construction |
| Code inspection | Verified against current energy and building code before siding closes it in | Governed by the existing structure's original construction |
| Best time to fix a mistake | Before siding goes on — cheap and easy | Requires removing finished siding — expensive |
How We Coordinate With Your Builder and Other Trades
On a new build, windows sit in the middle of a sequence: framers finish the rough openings, the WRB goes up, windows get installed and flashed, and then siding closes everything in. Timing matters — install too early and the WRB isn't ready to integrate with; wait too long and you're holding up the siding crew. We work directly with the builder's schedule so window installation happens at the right point in that sequence, not whenever it's convenient for one trade in isolation.
We also coordinate the flashing detail with whatever siding system is going on the house. A rain-screen assembly, fiber cement, or traditional lap siding all interact with window trim slightly differently, and the flashing needs to be planned with the finished siding detail in mind — not figured out after the fact.
Our Process on a Mukilteo New-Build
- Walk the rough openings before install day and confirm sizing, level, and square against the window order.
- Verify the WRB is installed and ready to integrate with flashing before setting any window.
- Install sloped sill pans at every opening, no exceptions for size or orientation.
- Set the window plumb, level, and square, and fasten per the manufacturer's schedule to keep the warranty intact.
- Shingle-flash the flanges into the WRB, then flash the head with a proper drip detail.
- Photograph and log the flashing details at each opening before they're covered by siding — useful for the builder's records and for us if any question comes up later.
- Walk the completed openings with the builder or homeowner before siding closes them in.
Common Mistakes We Watch For
- Flashing taped flat instead of shingled with the WRB, leaving a seam water can get behind
- No sill pan, or a flat one instead of sloped
- Fasteners that don't match the manufacturer's installation instructions, which can void the window warranty
- Windows set out of square, which stresses seals and hardware early
- Sealant used as the only water barrier instead of a backup to proper flashing
- Standard fasteners and flashing metals used on a site close enough to the Sound to warrant corrosion-resistant hardware
- Window install timed wrong against the WRB and siding schedule, forcing rework
What Drives Cost on a New-Construction Window Project
| Factor | Why It Moves the Price |
|---|---|
| Number and size of openings | More openings and larger units mean more flashing detail work and material |
| Frame material and glazing package | Fiberglass and higher-performance glazing cost more than baseline vinyl |
| Site exposure | Waterfront-facing walls may warrant upgraded corrosion-resistant hardware |
| Scheduling with other trades | Tight builder timelines can affect crew scheduling and sequencing |
| Access and site conditions | Sloped lots or limited staging area near the water can add time |
We give straightforward, itemized pricing up front, and we'll walk through where the money is going rather than handing over a lump-sum number and hoping you don't ask.
Why a Crew That Already Works Mukilteo Matters
A lot of the details above — sloped sill pans, corrosion-resistant hardware, shingled flashing sequences — apply anywhere. What changes site to site is judgment: how much wind-driven rain a particular elevation is likely to see, whether a site is close enough to the Sound to justify upgraded hardware, how aggressively moss takes hold on a shaded, damp lot versus an open one. A crew that installs windows across Snohomish County's coastal communities on a regular basis has already seen how these homes weather their first few winters, and builds accordingly instead of guessing.
We also know the local building department's expectations and the pace new-construction schedules in this area tend to run at, which keeps window installation from becoming the bottleneck on your build.
Get a Straightforward Estimate
If you're building new in Mukilteo and want windows installed with the flashing and sequencing done right the first time, we're glad to walk the plans or the framed site with you. The estimate is free, there's no pressure, and you'll get a clear answer on what your specific site needs — just fill out the form below to get started.