 Everett
 Building New in Delta? Windows Are Not a Detail to Rush
If you're framing a new home in the Delta neighborhood of Everett, the windows are one of the few components that touch almost every other trade on the job — framing, weather barrier, siding, trim, and interior finish all have to line up around them. Get the window opening right the first time and everything downstream goes smoothly. Get it wrong, and you're chasing a leak years later through finished walls that are expensive to open back up.
New-construction window work is a different job than replacing an old window in an existing wall. There's more opportunity to do it right — but also more ways to get it wrong if the crew isn't paying attention to sequencing. In a marine climate like Snohomish County's, that sequencing matters more than almost anywhere else in the state.
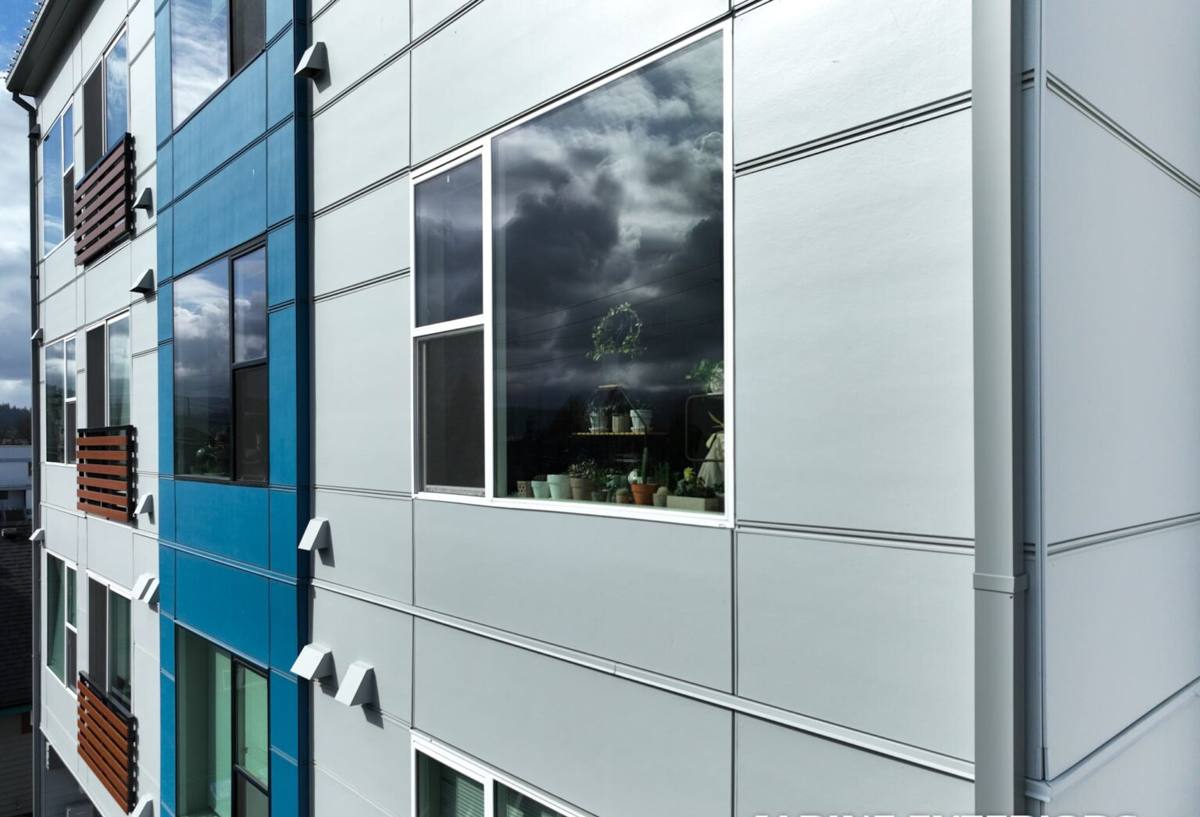
What Everett's Climate Actually Does to a New Window Opening
Delta sits close enough to Puget Sound and the Snohomish River delta that homes here deal with a specific combination of stresses that inland Washington builders don't think about as much.
Salt Air and Corrosion
Airborne salt from the Sound accelerates corrosion on exposed fasteners, cheap flashing metal, and lower-grade hardware. On a new build, this is easy to design around — but only if the crew is choosing corrosion-resistant fasteners and flashing components before the wall gets closed up, not after someone notices staining.
Driving Rain
Everett gets wind-driven rain off the Sound, and driving rain finds any gap in a window opening that isn't properly flashed and sealed. A new-construction opening gives you the chance to build a fully lapped, gravity-fed drainage path — sill pan, jamb flashing, head flashing, all shingled correctly with the weather-resistive barrier. That's the whole advantage of doing it right at the framing stage instead of retrofitting later.
Extended Moss and Damp Season
Snohomish County's long wet season keeps sheathing and framing members damp for extended stretches of the year. Any window opening that traps moisture instead of shedding it becomes a slow rot problem — often invisible until the interior trim starts showing it. New construction lets us build in drainage and drying capacity from the start, which is far cheaper than fixing it after occupancy.
New Construction vs. Replacement: Why the Approach Is Different
A lot of homeowners assume window installation is window installation. It isn't. The two jobs use different products and different techniques, and mixing them up is one of the more common mistakes we see corrected on other builders' work.
- New-construction (nail fin) windows have a flange around the perimeter that gets fastened directly to the sheathing and integrated with the weather-resistive barrier before siding goes on. This is the correct approach for a wall that's open to the studs.
- Replacement (block frame) windows are built to fit inside an existing, finished opening without disturbing the surrounding siding or interior trim. They rely on the old frame and flashing still being sound.
- Using a replacement-style window in new construction — or vice versa — usually means compromised flashing, a weaker seal, or both. It's a shortcut that shows up as a leak later, not at final walkthrough.
How We Sequence a New-Construction Window Install
The actual installation happens in a specific order, and skipping a step — even one that seems minor — is how leaks get built into a wall.
1. Rough Opening Check
Before a window ever shows up on site, we confirm the rough opening is square, plumb, and sized correctly. A framing crew running slightly out of tolerance is normal; catching it before the window arrives is what keeps the schedule moving.
2. Sill Pan Flashing
A sloped, corner-dammed sill pan under the window is non-negotiable in this climate. It gives any water that gets past the window a way out instead of a place to pool. This is the single most common corner cut we see on lower-bid work, and it's the one most likely to cause damage later.
3. Weather-Resistive Barrier Integration
The WRB (housewrap or equivalent) has to be shingle-lapped with the flashing at the jambs and head so water is always directed outward and downward, never behind the barrier. Sequence matters here — jamb flashing goes over the sill pan, and the WRB and head flashing go over the jambs, in that order.
4. Setting and Fastening the Window
The window gets set plumb, level, and square, shimmed correctly at load-bearing points, and fastened per the manufacturer's schedule — not just wherever a nail happens to line up. Over- or under-fastening both cause problems, from frame distortion to fasteners pulling loose in wind.
5. Head Flashing and Final Lap
Head flashing goes in last, lapped over the WRB above the window, completing the drainage path. At this point the opening should shed water the same way shingles on a roof do — everything above laps over everything below.
6. Interior and Exterior Sealing
Backer rod and sealant at the interior, and a compatible exterior sealant at the trim line, close up the assembly without trapping moisture inside the wall cavity. We also make sure insulation gets packed correctly around the frame — a gap here is a cold spot and a condensation risk.
Choosing Windows for a New Build in a Marine Climate
Frame material, glazing, and hardware all matter more here than in a drier climate. Washington's state energy code also sets minimum performance targets for new-construction glazing that are stricter than what many other states require, so product selection isn't just about looks or budget — it affects whether the home passes inspection.
| Frame Material | Moisture Resistance | Maintenance | Typical Fit for Delta Builds |
|---|---|---|---|
| Vinyl | Good — won't rot, but seals and welds need to be quality-checked | Low | Solid value option for most new builds |
| Fiberglass | Excellent — dimensionally stable in wet/dry cycling | Low | Strong long-term choice given our wet season swings |
| Wood-clad | Good exterior, but interior wood is vulnerable if any seal fails | Higher — cladding and interior finish upkeep | Best for homeowners who want the look and will maintain it |
| Aluminum | Prone to condensation and thermal transfer without a thermal break | Moderate | We use it selectively, mainly for large openings needing a thermally broken frame |
Glazing Package
Double-pane, Low-E glass with an argon or krypton fill is standard on new builds now, and for good reason in our climate — it cuts heat loss through the coldest, wettest months and reduces interior condensation on the glass itself. For west- and south-facing openings that see more direct rain and sun exposure, we'll talk through solar heat gain coefficient (SHGC) options so the glass is matched to the exposure, not just picked off a spec sheet.
Egress and Code
Bedroom windows have minimum opening size and sill height requirements for emergency egress. On new construction this is easy to plan for during the design phase — it's much harder to fix after a wall is framed to the wrong dimension, so we flag it early if we're brought in before rough framing is finalized.
Working Alongside Your Builder or GC
Most of our new-construction window work happens as a coordinated piece of a larger build, not a standalone project. That means:
- We work off the builder's framing schedule and show up when the rough opening is ready, not before or after.
- We flag any rough-opening or WRB sequencing issues to the GC immediately, before they get buried behind siding.
- We document flashing and sill pan installation with photos at each stage, since those details aren't visible once the wall is closed up — useful for the builder's records and for any future warranty questions.
- We coordinate directly with the siding crew (or handle both scopes ourselves) so the window-to-siding transition is planned, not improvised on site.
Why Hire a Crew That Already Works in Delta
Every neighborhood in Everett has its own quirks — lot slopes, tree cover, exposure to wind off the Sound — and Delta is no exception. A crew that's worked new construction in this area already knows how the local weather behaves through a build cycle, what the Snohomish County and City of Everett inspectors want to see at flashing and weatherization checks, and how to keep a schedule moving through a wet stretch instead of losing weeks to it. That local familiarity shows up as fewer surprises, fewer callbacks, and a home that's actually ready for its first real winter storm off the Sound.
New-Construction Window Installation Checklist
Whether you're a homeowner watching your build or a GC vetting a window crew, these are the things worth confirming on-site:
- Rough openings checked for square, plumb, and correct size before windows arrive
- Sloped, corner-dammed sill pan installed under every window
- WRB and flashing shingle-lapped in the correct order: sill pan, jamb flashing, WRB, head flashing
- Corrosion-resistant fasteners used throughout, given salt-air exposure
- Windows shimmed and fastened per manufacturer specification, not fastened arbitrarily
- Insulation packed evenly around the frame with no voids
- Interior and exterior sealant compatible with the window manufacturer's warranty requirements
- Glazing package matched to each opening's sun and rain exposure
- Egress dimensions confirmed on all required bedroom openings
Get a Straight Answer on Your Delta Build
If you're planning or already framing a new home in Delta, we're happy to walk the site, look at your window schedule, and give you a clear, no-pressure estimate on the installation — including how we'll handle flashing and sequencing for our climate specifically. Fill out the form below and we'll get back to you with straightforward answers, not a sales pitch.