 Everett
 Why Siding Repair Looks Different in Lake Stevens
Lake Stevens sits in the mix of lake-humidity and Puget Sound weather patterns that define western Snohomish County — long wet winters, driving rain that comes in sideways during a storm, and a moss season that can stretch from fall through spring. Homes here don't fail the same way a house in a dry climate does. Damage shows up as trapped moisture, soft spots, and slow rot behind siding that looked fine from the curb a year earlier. Repairing siding correctly in this area means understanding how water moves behind the cladding, not just patching what's visible.
We work on homes throughout Everett and the surrounding Snohomish County communities, and Lake Stevens has its own quirks worth knowing before a repair crew shows up at your door.
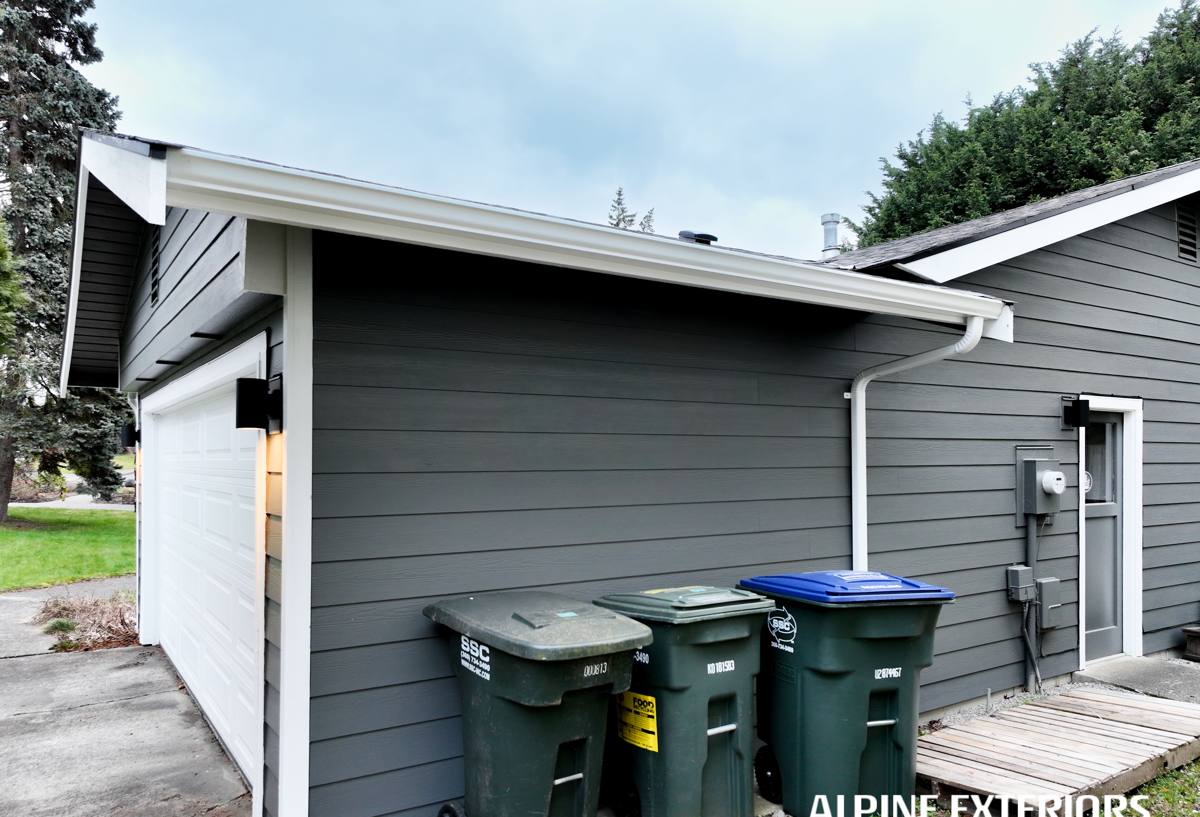
What Driving Rain and Moss Do to Siding Over Time
Wind-Driven Moisture
Storms off the Sound don't just drop rain straight down — wind pushes it sideways and up under laps, around trim, and into any gap where caulking has failed. Over years, that moisture works its way behind the siding face rather than staying on the surface. By the time a stain or soft spot appears outside, there's often already damage to the sheathing or framing underneath.
Moss and Constant Damp
The lake itself adds humidity to the immediate area, and shaded, north-facing walls or sections tucked under mature trees stay damp longer than the rest of the house. Moss and algae aren't just cosmetic — they hold moisture against the siding surface for extended periods, which accelerates whatever is already going wrong underneath. A wall that never fully dries between rain events is a wall under constant stress.
Freeze-Thaw and Seasonal Movement
Snohomish County doesn't see deep freezes often, but the occasional cold snap after a wet stretch can expand trapped moisture in siding and trim, widening small cracks into bigger ones. It's a slower version of the freeze-thaw damage you'd see in a harsher climate, but it adds up over a decade or two.
Signs Your Lake Stevens Home Needs Siding Repair
Most siding problems give warning signs well before they become structural issues. Worth checking for, especially heading into the wet months:
- Soft or spongy spots when you press on the siding, especially near the bottom courses or under windows
- Visible gaps, cracks, or separation at seams, corners, and trim joints
- Peeling or bubbling paint, which often signals moisture pushing out from behind
- Persistent moss or algae growth that keeps coming back after cleaning
- Staining or dark streaks running down from a specific point, suggesting a leak path above
- Warping, buckling, or boards that no longer sit flat against the wall
- Interior signs — musty smell, damp drywall, or peeling interior paint on an exterior wall
Any one of these on its own might be minor. Several together, or any sign near a window, door, or roofline, usually means water has already found a way in.
What a Correct Repair Actually Involves
A siding repair that just swaps a damaged board for a new one and calls it done is treating the symptom, not the cause. Correct repair work starts with finding out why that section failed in the first place.
Diagnosis Before Demo
Before removing anything, we look at the surrounding area — flashing, caulking, the house wrap or weather barrier underneath, and how water is actually reaching that spot. Replacing a board without fixing the water path just means the same repair again in a few years.
Checking What's Behind the Siding
Once a damaged section is opened up, we check the sheathing and framing for rot or soft wood. If moisture has traveled further than the siding itself, that gets addressed before anything new goes back on — patching over compromised sheathing is a shortcut that costs the homeowner more later.
Matching Materials and Finish
Visible repairs are often the result of using the wrong material, an inconsistent profile, or a paint color that doesn't quite match. Getting the replacement piece right — same product line, same exposure, same finish — is what keeps a repair from standing out on the wall.
Sealing and Flashing
Proper flashing and sealant at seams, penetrations, and trim joints is what actually stops the next leak. This step gets rushed more than any other in low-quality repair work, and it's usually where the next failure starts.
Repair vs. Replacement: How We Decide
Not every damaged section needs a full re-side, and not every problem is solvable with a patch. Here's roughly how we think through it:
| Situation | Usually Repair | Usually Replacement |
|---|---|---|
| Isolated damage (one wall, one section) | Yes | — |
| Damage limited to a few boards, sheathing intact | Yes | — |
| Widespread moisture damage across multiple walls | — | Yes |
| Original siding is a product we don't recommend (vinyl, LP, cedar) and is failing broadly | Case by case | Often, yes |
| Sheathing or framing rot found during repair | Depends on extent | Yes, if extensive |
| Siding is near end of expected service life house-wide | — | Yes |
We'll always tell you honestly which category your home falls into rather than defaulting to the bigger job. A lot of Lake Stevens homes we look at genuinely just need a section addressed, not a full re-side.
Why We Only Repair with James Hardie Materials
We install and repair exclusively with James Hardie fiber cement siding. That's a deliberate standard, not a limitation we work around. Fiber cement doesn't absorb and swell with moisture the way wood-based products can, and it doesn't have the seam and expansion issues that make some vinyl repairs look patched forever. Hardie's ColorPlus factory finish also means a well-matched replacement board can blend in rather than becoming a visible splice years down the road.
If your home currently has a different siding product — vinyl, LP SmartSide, cedar, or another fiber cement brand — we'll still evaluate and repair what's there when that's the right call for your budget and timeline. But when it comes time to replace a section outright or eventually re-side the house, our recommendation is Hardie, and we'll explain why rather than just assuming you already know.
Our Process for Lake Stevens Siding Repair
1. On-Site Assessment
We walk the exterior, check problem areas you've noticed, and look for anything you haven't — trouble spots often show up first in places that aren't easy to see from ground level.
2. Honest Scope and Estimate
You get a clear explanation of what's actually wrong, what needs to happen to fix it correctly, and a straightforward cost range — no inflated scope, no upsell pressure.
3. The Repair Itself
Damaged material comes out, anything compromised underneath gets addressed, new Hardie material goes in matched to the existing siding, and flashing and sealant are done properly at every joint.
4. Cleanup and Walkthrough
We clean up the work area and walk the repair with you so you know exactly what was done and what to keep an eye on going forward.
Why Hiring a Crew That Already Works Lake Stevens Matters
Local experience isn't just a talking point. A crew that's worked repeatedly in Lake Stevens and the broader Everett area knows which parts of a house tend to take the worst weather exposure, how moss and moisture behave on homes near the lake versus further inland, and what correct flashing and sealing looks like for this specific climate — not a generic install guide written for a drier region. That familiarity shows up in fewer callbacks and repairs that actually hold up through the next wet season.
It also means straightforward scheduling and accountability. You're not dealing with a crew that drove in from out of the area for one job and is hard to reach if something needs a second look.
Maintaining Your Siding After Repair
A good repair job lasts longer with a little basic upkeep, especially given how much moisture and moss this area deals with:
- Rinse siding periodically to keep moss and algae from establishing, particularly on shaded walls
- Keep gutters clear so water isn't overflowing directly onto siding below
- Trim back vegetation and tree branches that keep a wall section shaded and damp
- Do a visual check after major storms for new gaps, cracks, or loose trim
- Address small caulking or sealant issues early, before they become water intrusion points
If you're noticing soft spots, persistent moss, or staining on your Lake Stevens home, it's worth getting a straight answer on what's actually going on before it spreads further. We offer free, no-pressure estimates — fill out the form below and we'll take a look.