 Everett
 Why Port Gardner Windows Wear Out Faster
Port Gardner sits close to Everett's working waterfront, and that proximity to Port Gardner Bay and the Puget Sound shapes what your windows deal with every single day. Salt-laden air corrodes exposed hardware, pits aluminum, and breaks down cheap seals years before they'd fail in a drier inland neighborhood. Add Snohomish County's long wet season — driving rain that gets pushed sideways by wind off the water — and you have conditions that find every weak point in a window's flashing, frame, and glazing.
Then there's moss. Everett's mild, damp climate keeps north-facing siding and window trim shaded and moist for months at a stretch, and moss doesn't stay put on the roof. It creeps down onto window headers, sills, and trim boards, holding moisture against wood and painted surfaces long after a storm has passed. Windows that were installed correctly shrug this off. Windows that weren't start showing rot, fogging, and drafts within a handful of years.
None of this means Port Gardner is a bad place to own a home — it means window installation here has to account for conditions a lot of manufacturers' standard install instructions don't fully anticipate. That's the gap we fill.
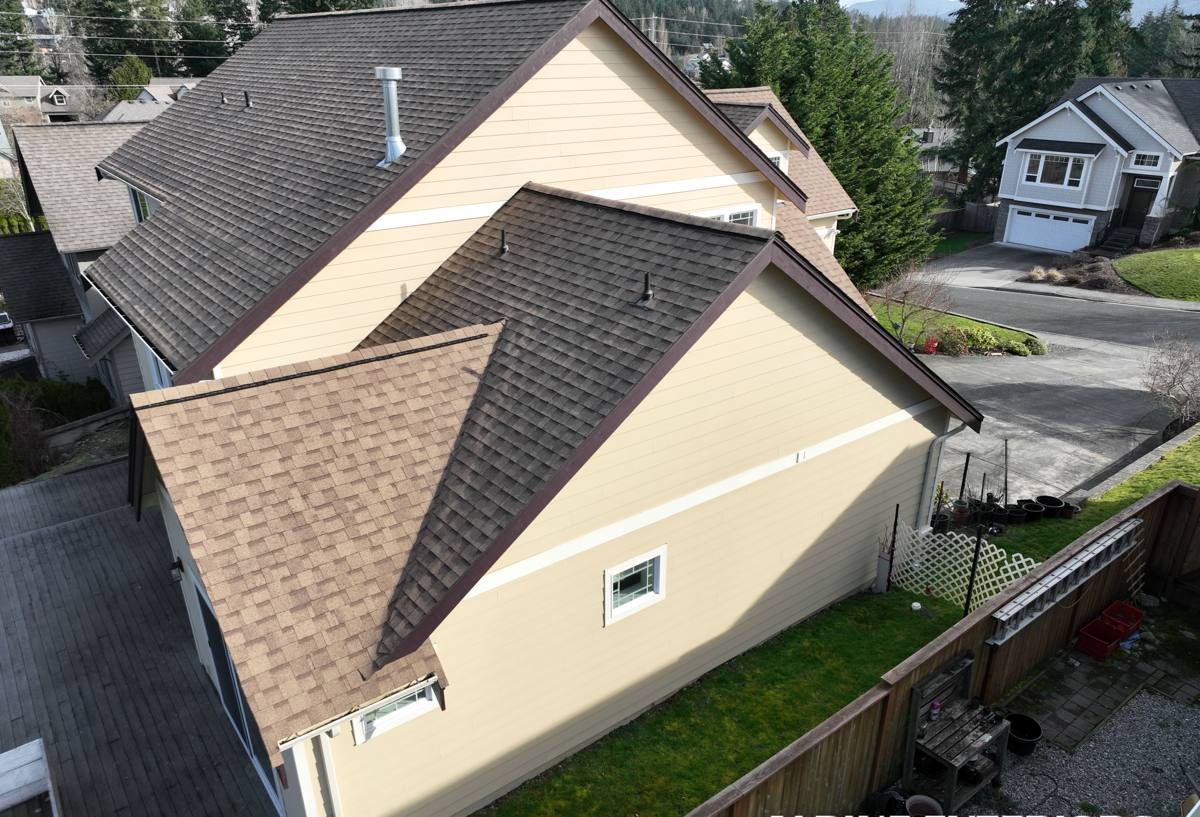
Signs a Port Gardner Home Needs New Windows
Homeowners usually notice a problem before they can name it. Here's what we hear most often on service calls in this part of Everett:
- Fogging or a hazy film between the panes — the seal on a double-pane unit has failed and moisture has gotten between the glass
- Cold drafts near the frame even when the window is fully latched
- Wood trim or sills that feel soft, spongy, or show dark staining
- Hardware — locks, cranks, hinges — that's stiff, corroded, or won't fully engage
- Visible gaps between the window frame and siding, or caulking that's cracked and pulling away
- A noticeable jump in heating costs with no other explanation
- Moss or algae buildup on the sill or header that keeps coming back no matter how often it's cleaned
Any one of these on its own might just mean a repair or a re-caulk. Several together, especially on the sides of the house that catch the most wind and rain off the bay, usually mean the windows themselves have reached the end of their useful life.
What a Correct Window Installation Actually Involves
Window installation looks simple from the outside — pull the old unit, set the new one, trim it out. Done wrong, that sequence is exactly how leaks start two or three years down the road, hidden behind the wall where you can't see them until the damage is extensive. Done right, it's a sequence where each step protects the next.
Removal and opening prep
We remove the old window carefully and inspect the rough opening before anything new goes in. This is the point where hidden rot, soft framing, or old flashing failures get caught — and it's far cheaper to fix them now than after a new window is sealed in over the top of a problem.
Flashing and water management
This is the step that matters most in a climate like ours. Proper flashing — sill pan, jamb flashing, and head flashing installed in the correct shingle-lap order — gives any water that gets past the exterior surface a way to drain back out instead of soaking into the framing. In a neighborhood exposed to wind-driven rain off the water, skipping or shortcutting this step is the single biggest cause of the rot and mold problems we get called out to fix.
Setting, leveling, and fastening
The window has to be set plumb, level, and square, and fastened per the manufacturer's schedule — not just wherever it happens to sit in the opening. An out-of-square window stresses the frame, makes hardware bind, and leaves gaps that no amount of caulk fully solves.
Insulation and air sealing
The gap between the window frame and the rough opening gets filled with a low-expansion foam or backer rod and sealant, not stuffed with fiberglass batting. Overfilling with high-expansion foam can actually bow the frame; underfilling leaves a cold, drafty gap.
Exterior sealing and trim
Sealant goes only where it's supposed to — leaving the bottom of the flashing system able to weep water out rather than trapping it behind a fully caulked perimeter. Trim is set to shed water away from the frame, not hold it against the wood.
Choosing the Right Window Frame for a Waterfront-Adjacent Home
Frame material matters more in Port Gardner than it does a few miles inland. Salt air and constant moisture cycling reward materials that don't corrode or rot, and penalize ones that do.
| Frame Material | How It Handles Salt Air & Moisture | Maintenance |
|---|---|---|
| Vinyl | Won't corrode or rot; handles moisture well | Low — occasional cleaning |
| Fiberglass | Very stable in temperature and moisture swings; strong moisture and salt resistance | Low |
| Aluminum-clad wood | Exterior clad resists weather well; interior wood adds warmth | Moderate — cladding seams need periodic inspection |
| Bare aluminum | Prone to pitting and corrosion in salt air over time | Higher — needs monitoring for corrosion |
| Solid wood | Attractive but most vulnerable to rot in a wet, salt-exposed, moss-prone climate | Highest — regular painting/sealing required |
We're not going to tell you bare aluminum or solid wood windows are junk — plenty of houses around Everett still have them, and with diligent upkeep they can last. What we will say honestly: given what this specific location does to window frames, vinyl and fiberglass hold up with far less maintenance, and that's a fair trade-off worth weighing against the look you're going for.
Glass and Glazing Choices Worth Knowing
The frame keeps water out; the glass package handles comfort and energy performance. A few decisions worth understanding before you pick:
- Double vs. triple pane — triple pane adds insulation and sound dampening, which is worth considering if your home faces street noise or a particularly exposed, windy side of the lot; double pane with a good Low-E coating is sufficient for most Port Gardner homes
- Low-E coatings — reduce heat loss in winter and heat gain in summer; a solid baseline upgrade over clear glass for almost any Pacific Northwest home
- Argon or krypton gas fill — improves insulation between panes at a modest added cost
- Impact-resistant or laminated glass — worth a look for ground-floor windows in more exposed spots, though it's not a strict necessity for most homes in this area
Our Process, Start to Finish
We keep the process straightforward and communicate what's happening at each stage:
- On-site assessment of existing windows, openings, and any signs of moisture or rot damage
- Honest recommendation on frame material, glass package, and repair vs. replace, based on what we actually see — not a one-size-fits-all upsell
- Written estimate with a clear scope of work
- Careful removal and rough-opening inspection, flagging any hidden damage before covering it back up
- Installation following manufacturer flashing and fastening specs, adapted for the wind and rain exposure specific to a waterfront-adjacent property
- Interior and exterior trim-out, cleanup, and a final walkthrough with you
Why Local Installation Experience Matters Here
A window installed by the book in a dry, sheltered inland town can still fail early on a home exposed to salt spray and sideways rain off Port Gardner Bay if the crew doesn't adjust for it. We work throughout Everett and Snohomish County, which means we've seen firsthand how flashing details, fastener choice, and sealant selection need to change for homes closer to the water versus homes tucked further inland. That's not something you can fully learn from an install manual — it comes from doing the work in this specific climate, on this specific coastline, repeatedly.
We also understand what Everett's permitting and inspection process expects for window replacement, so paperwork doesn't become a holdup on your project.
Keeping New Windows Performing Long-Term
A correct installation does most of the work, but a little seasonal attention keeps it that way:
- Rinse salt residue off frames and glass a few times a year, especially after storms
- Keep gutters and downspouts clear so overflow doesn't run down onto window headers
- Knock moss off nearby siding and trim before it spreads onto window surfaces
- Check exterior caulking annually and touch up any cracked or separated sections early
- Operate hardware — locks, cranks, latches — periodically so components don't seize from disuse and moisture
If you're seeing drafts, fogged glass, soft trim, or you're simply planning ahead for a Port Gardner home that's due for an upgrade, we're happy to take a look and give you a straightforward, no-pressure estimate. Use the form below to get started.