 Everett
 Windows Built for Glenhaven's Weather, Not Just Its Style
Glenhaven homes sit close enough to Puget Sound and the Snohomish County lowlands that windows here work harder than they would in a drier inland climate. Salt-laden air off the water accelerates corrosion on hardware and metal components. Driving rain, pushed sideways by wind off the Sound, tests every seal and flashing detail. And the long, wet moss season that runs from fall through spring keeps trim, sills, and cladding damp for months at a stretch. A window that's a marginal fit for a dry-climate house can become a real problem here within a few years — fogged glass, soft sills, drafts that show up every winter. When we install windows in Glenhaven, we're not just fitting a new unit into an old opening. We're solving for the specific combination of moisture, salt, and wind this neighborhood sees every year.
What Glenhaven's Housing Stock Tends to Need
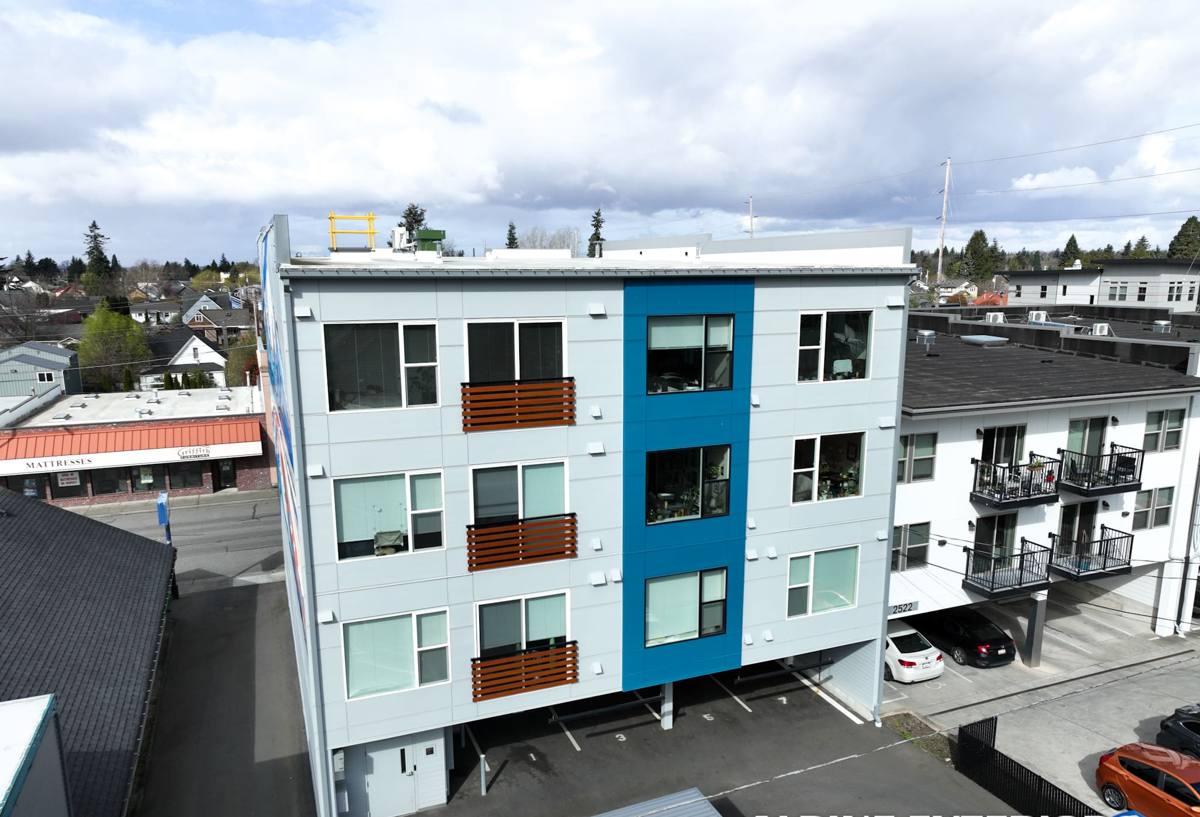
Like much of Everett, Glenhaven has a mix of home ages and construction styles, and the right window approach depends on what's already there. Older homes with original wood-frame windows often have deteriorated glazing putty, warped sashes, or single-pane glass that's long past doing its job on comfort or noise control. Homes from the past few decades may have aluminum or early vinyl windows that are structurally fine but thermally weak, or that were installed without modern flashing details that current codes and best practices call for. In both cases, the fix isn't just "put in a new window" — it's making sure the opening itself is sound, properly flashed, and ready to shed water for the next 20-plus years before the new unit ever goes in.
Common issues we find on Glenhaven inspections
- Soft or spongy sill and jamb wood from years of moisture intrusion around old seals
- Missing or degraded flashing tape and building paper integration at the rough opening
- Condensation between panes on older dual-pane units, signaling a failed seal
- Corroded hardware — latches, hinges, balance mechanisms — from salt air exposure
- Moss and algae staining on sills and lower trim from shaded, damp conditions
- Gaps and drafts around frames where old caulk has cracked or shrunk
What a Correct Installation Actually Involves
Window installation is one of those jobs where the visible part — the new window itself — is only a fraction of what determines whether it performs. The details that matter most are the ones you can't see once the trim goes back on.
Opening prep and moisture management
Before any new window goes in, we check the rough opening for rot, soft framing, or signs of past water intrusion. Any compromised wood gets addressed, not covered over. We install flashing in the correct shingle-lap order — sill pan first, then side flashing, then head flashing — so water is always directed outward and down, never trapped behind the window. This layered approach is what actually keeps driving rain out during a wind-driven storm off the Sound, which is a very different load than a light vertical rain.
Sealing and insulation
Gaps between the window frame and rough opening get filled with low-expansion foam or backer rod and sealant, not just caulk smeared around the trim. Over-filling with high-expansion foam can actually bow window frames and cause operational problems, so we use the right product for the gap size. Exterior sealant joints are tooled properly so they shed water instead of holding it against the frame.
Level, plumb, and square
A window that's out of square will bind, won't lock properly, and will develop stress-related seal failures early. We shim and fasten to keep the unit level, plumb, and square, then check operation before final trim work.
Exterior finish and trim
Trim and caulking are finished to shed water away from the window, with attention to any areas that see heavier moss or algae growth due to shade and dampness. Where a home's exterior siding or trim is already showing wear around window openings, we'll flag it — a new window installed into failing trim just moves the problem, it doesn't solve it.
Material Choices: What Holds Up Here vs. What Struggles
Every window material has real trade-offs, and the right call depends on the home, the budget, and how much upkeep an owner wants to take on. We'll walk through the honest pros and cons for your specific house rather than push one product line.
| Material | How it handles Glenhaven's climate | Maintenance considerations |
|---|---|---|
| Vinyl | Good moisture and salt-air resistance; no corrosion risk; consistent performance in wet, mild coastal weather | Low — occasional cleaning, no painting or refinishing needed |
| Fiberglass | Excellent dimensional stability in temperature and moisture swings; strong resistance to warping | Low to moderate — durable finish, higher upfront cost |
| Wood (clad or unclad) | Classic look but most vulnerable to the long wet season if seals or finish are neglected | Higher — periodic refinishing and moisture checks needed, especially on shaded elevations |
| Aluminum | Strong but thermally conductive and prone to condensation and salt-related corrosion over time near the water | Moderate — hardware and finish need monitoring in salt air |
For most Glenhaven homes, we lean toward vinyl or fiberglass for the balance of moisture resistance, low upkeep, and value. Wood windows can absolutely work here, but they need an owner who's committed to keeping finish and seals maintained through the wet months — we'll always tell you honestly which category your project falls into.
Glass and Performance Options Worth Understanding
Beyond the frame material, the glass package affects comfort, noise, and condensation resistance — all relevant given the local climate.
- Dual-pane, argon-filled: the standard baseline for this region; good thermal performance and condensation resistance for most homes
- Low-E coatings: help manage heat gain and loss through the seasonal temperature swings typical of the Puget Sound area
- Triple-pane: worth considering on street-facing or exposed elevations where wind noise and drafts are more noticeable, though it adds cost and weight
- Warm-edge spacers: reduce the cold-edge effect that contributes to condensation forming at the glass perimeter during damp winter mornings
We'll help you weigh which of these actually make sense for your home's exposure rather than upselling every option on every job.
Our Process for a Glenhaven Window Project
- On-site assessment: we inspect existing windows, openings, and surrounding trim or siding condition, and note any moisture or rot concerns.
- Honest recommendation: we walk you through material and glass options with real trade-offs, not a one-size-fits-all pitch.
- Accurate measurement and ordering: precise measurements matter for a tight, properly flashed fit — this step protects the whole job.
- Removal and opening prep: old units come out carefully, and any compromised framing or sheathing is repaired before the new window goes in.
- Flashing, install, and seal: proper shingle-lap flashing, correct shimming, and appropriate sealant application, checked for level and square.
- Interior and exterior finish: trim work completed and sealed to shed water on the exterior side.
- Final walkthrough: we test operation, locks, and check the finish work with you before calling the job done.
Why a Crew That Already Works Glenhaven Matters
Window installation done wrong doesn't usually fail immediately — it fails two or three winters later, when a marginal flashing detail finally lets water behind the wall during a hard, wind-driven Everett rainstorm. A crew that regularly works Glenhaven and the surrounding Snohomish County neighborhoods has already seen how local homes age, which construction eras tend to have which weak points, and how much moss and algae buildup to expect on shaded north- and west-facing walls. That familiarity shows up in small decisions — how much slope to build into a sill pan, which sealant holds up best against sustained damp exposure, when a rough opening needs more than a quick patch. It's the difference between a window that looks right on install day and one that's still performing correctly a decade later.
Signs It's Time to Replace Rather Than Repair
Not every window issue means full replacement — sometimes hardware repair or re-caulking solves the problem. But certain signs point clearly toward replacement being the more durable and cost-effective choice.
| Sign | What it usually means |
|---|---|
| Fogging or moisture between panes | Seal failure — not repairable, glass unit or full window needs replacing |
| Soft or rotted sill/jamb wood | Ongoing moisture intrusion; opening needs repair before or during replacement |
| Window won't stay open or lock properly | Balance or hardware failure, sometimes worsened by frame warping |
| Persistent draft even with new weatherstripping | Frame or seal is beyond simple maintenance fixes |
| Visible daylight or gaps at the frame edge | Settling, warping, or original installation flaws |
Getting Started
If you're noticing drafts, moisture, or wear on your windows, it's worth having them looked at before another wet Everett winter puts more stress on compromised seals or framing. We're happy to come take a look at your Glenhaven home, give you a straightforward read on what's actually going on, and walk through options that fit your house and your budget — no pressure, no upsell. Use the form below to request a free estimate.