 Everett
 Window Installation for Edmonds Homes, Done by People Who Work This Coastline
Edmonds sits right on Puget Sound, which means its homes take on a different kind of weather stress than houses even a few miles inland. Salt-laden air, wind-driven rain off the water, and a long, damp moss season put steady pressure on window openings, frames, and the seals around them. A window installed without accounting for that environment can look fine for a year or two and then start failing quietly — fogged glass, soft trim, drafts that show up every winter. We install windows for homes in Edmonds and the surrounding Everett and Snohomish County area, and this page walks through what a correct installation actually involves here, not in a generic climate zone.
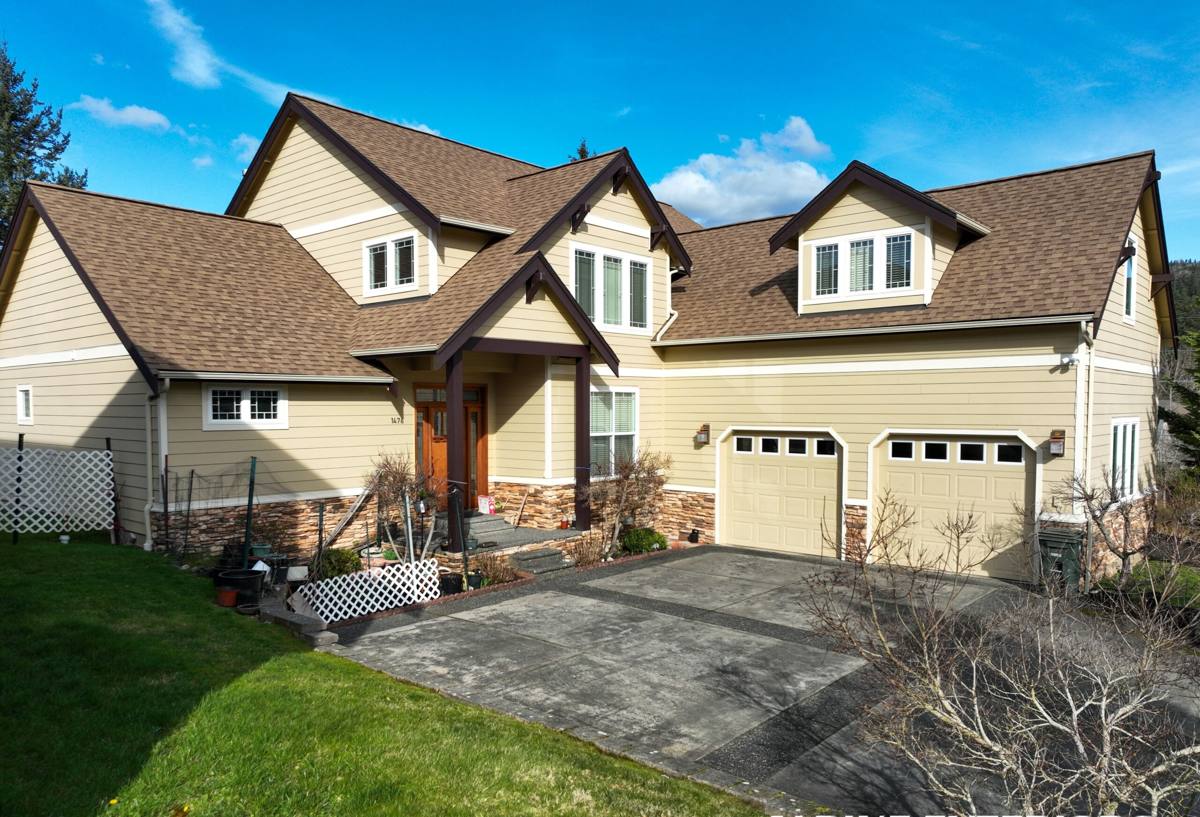
What Salt Air, Driving Rain, and Moss Season Do to a Window Opening
Three regional conditions do most of the damage to window installations in this area, and they don't act alone — they compound each other over the years.
Salt Air
Homes closer to the water pick up airborne salt that accelerates corrosion on hardware, screws, and metal flashing components. Over time this can weaken fasteners and cause pitting on lower-grade metal parts long before the window itself would otherwise need replacing. It's a slower process than water intrusion, but it's a real one for waterfront and near-waterfront Edmonds properties.
Driving Rain
Storms off the Sound don't just fall straight down — wind pushes rain sideways into window openings, especially on west- and southwest-facing walls. That means the flashing details and sealant lines around a window have to handle rain that's actively being forced sideways and upward, not just water running down a wall. This is where a lot of installation shortcuts get exposed.
Moss and Prolonged Dampness
Snohomish County's long wet season keeps wood trim, sills, and siding damp for extended stretches, which is exactly the environment moss and mildew need to take hold. Moss holds moisture against wood surfaces far longer than open air would, and once it establishes itself around a window frame it accelerates rot underneath, often before it's visible from the outside.
What a Correct Window Installation Actually Involves
Most window failures we see in this region aren't caused by a bad window — they're caused by a window installed without proper attention to water management. A correct installation is mostly about what happens before and around the window unit itself.
Flashing and Weather Barrier Integration
Every window opening needs flashing that ties correctly into the home's weather-resistive barrier, layered so water is always directed outward and downward — never trapped behind the siding. This includes head flashing above the window, jamb flashing at the sides, and a sill pan below. Skipping or shortcutting any one of these layers creates a path for wind-driven rain to work its way behind the finish surfaces.
Sill Pan and Drainage
The sill pan is arguably the single most important detail in a coastal or high-rainfall installation. It creates a sloped, sealed pocket beneath the window that catches any water that gets past the sash and drains it back outside instead of into the wall cavity. A window without a proper sill pan can look perfectly installed and still rot the framing underneath within a few wet seasons.
Air Sealing and Insulation
Gaps between the window frame and the rough opening need to be sealed with the right materials — not just caulk on the outside, but proper backer rod, sealant, and low-expansion foam or insulation in the cavity. Done correctly, this stops both drafts and the kind of hidden condensation that leads to mold inside the wall over time.
Choosing a Window Material for an Edmonds Home
There's no single "best" window material — the right choice depends on exposure, budget, and how much upkeep you want to take on. Here's how the common options actually compare in a marine, high-rainfall climate.
| Frame Material | Moisture Resistance | Maintenance | Typical Lifespan | Best For |
|---|---|---|---|---|
| Vinyl | Very good — won't rot or corrode | Low; occasional cleaning | 20-30 years | Most homes; strong value and low upkeep |
| Fiberglass | Excellent — dimensionally stable in temperature and moisture swings | Low | 30-40+ years | Waterfront or high-exposure walls |
| Wood / Wood-Clad | Good on the exterior clad side, but the interior wood needs protection from moisture | Higher; periodic finishing and inspection | Varies widely with maintenance | Homes prioritizing a traditional interior look and willing to maintain it |
| Aluminum | Prone to condensation and, near salt air, corrosion over time | Moderate | Varies | Rarely our first recommendation in this climate |
We're upfront about trade-offs rather than pushing one product line. Wood windows can be beautiful, but in a home exposed to Puget Sound weather they demand a maintenance commitment that vinyl or fiberglass simply doesn't require. That's a decision for the homeowner to make with full information, not a decision we make for you.
Our Installation Process, Step by Step
- On-site assessment: We look at each opening individually — existing flashing condition, any signs of past water intrusion, sun and wind exposure, and the state of the surrounding trim and siding.
- Accurate measurement: Windows are measured for the specific opening, not assumed to be a standard size, since older Edmonds and Everett homes often have settling or slightly out-of-square openings.
- Removal and inspection: Once the old window is out, we inspect the rough opening and sill for hidden rot or moisture damage before anything new goes in. This is often where problems from a prior installation surface.
- Repair as needed: Any soft or damaged framing gets addressed before the new window is set — installing a new window over compromised framing just hides the problem.
- Sill pan and flashing installation: Sill pan, jamb flashing, and head flashing are installed in the correct sequence so every layer sheds water to the one below it.
- Setting the window: The unit is leveled, plumbed, and squared, then fastened per manufacturer specifications so it operates smoothly and seals properly for its full service life.
- Air sealing and insulation: The gap between frame and opening is sealed and insulated correctly, avoiding both drafts and moisture-trapping shortcuts.
- Exterior and interior finish: Trim, caulking, and any siding tie-ins are finished to match the surrounding wall and shed water properly.
- Final check: Every window is opened, closed, and locked to confirm smooth operation before we consider the job done.
Signs Your Current Windows Are Already Failing
Because water damage around windows often starts hidden, it helps to know the early warning signs before they turn into a larger repair.
- Fogging or moisture between panes of a double- or triple-pane window (a sign the seal has failed)
- Soft, discolored, or bubbling trim or sill wood around the window frame
- Visible moss or persistent green staining on trim or nearby siding
- Drafts you can feel near the frame even when the window is fully closed and locked
- Windows that are difficult to open, close, or lock, or that have started to stick
- Peeling paint or a musty smell in the room, which can point to trapped moisture in the wall
- Noticeably higher heating bills without another clear explanation
Any one of these on its own isn't necessarily an emergency, but if you're seeing two or more around the same window, it's worth having it looked at before the next wet season.
Timeline, Disruption, and What to Expect During the Job
Most single-window replacements can be completed in a few hours; a full-home window replacement project typically spans several days depending on the number of openings and whether any framing repair is needed. We work one opening at a time and keep the home weather-tight at the end of each work day — you're not left with an open wall overnight. Dust and noise are part of any window replacement, but we protect flooring and nearby furnishings and clean up debris as we go rather than leaving it for a final day.
Given how much rain this area sees, we also pay attention to weather windows when scheduling exterior work, since installing flashing and sealants correctly depends on working in reasonably dry conditions.
Why a Crew That Already Works Edmonds and Everett Matters
Window installation done wrong doesn't usually announce itself right away — it shows up as a soft spot in the trim two winters later, or a musty smell that wasn't there before. A crew that regularly works homes in Edmonds and greater Everett has already seen how the local combination of salt air, wind-driven rain, and moss season plays out over years, not just how a window looks the day it's installed. That local experience shapes decisions on flashing sequencing, sill pan detailing, and which trade-offs actually matter for a given wall's exposure — decisions that are easy to get wrong if you're not used to building for Puget Sound weather specifically.
After Installation: Keeping Windows Performing in This Climate
A correctly installed window still benefits from basic upkeep in this environment. Rinse accumulated salt residue off frames and glass periodically if you're near the water, keep gutters and nearby drainage clear so water isn't pooling near the sill, and remove moss or organic buildup from surrounding trim before it holds moisture against the wood. None of this is heavy maintenance, but skipping it entirely shortens the life of even a well-installed window in a marine climate.
If you're dealing with drafty, foggy, or aging windows on an Edmonds home, or planning ahead for a replacement, we're glad to take a look and give you a straight, no-pressure assessment. Use the form below to request a free estimate.