 Everett
 Building New in Bayside: What the Site Actually Demands From Your Windows
Bayside sits close enough to the water that its houses take a different kind of weathering than homes further inland in Everett. Salt-laden air corrodes hardware and finishes faster, wind-driven rain gets pushed sideways into wall assemblies instead of just falling straight down, and the long stretch of gray, damp months each year keeps every exterior surface wet longer than it would be in a drier climate. None of that is unusual for Snohomish County, but it matters a lot more when you're building new, because a new-construction window install is your one chance to get the flashing and integration right before the siding and trim close everything up.
On a new build, the window isn't just a product decision — it's a system decision. The window has to work with the house wrap, the flashing tape, the sill pan, and the siding detail as one continuous water-management plane. Get that sequence wrong and the mistake gets buried behind finished walls, where it won't show up as a problem until years later as staining, soft trim, or mold behind drywall.
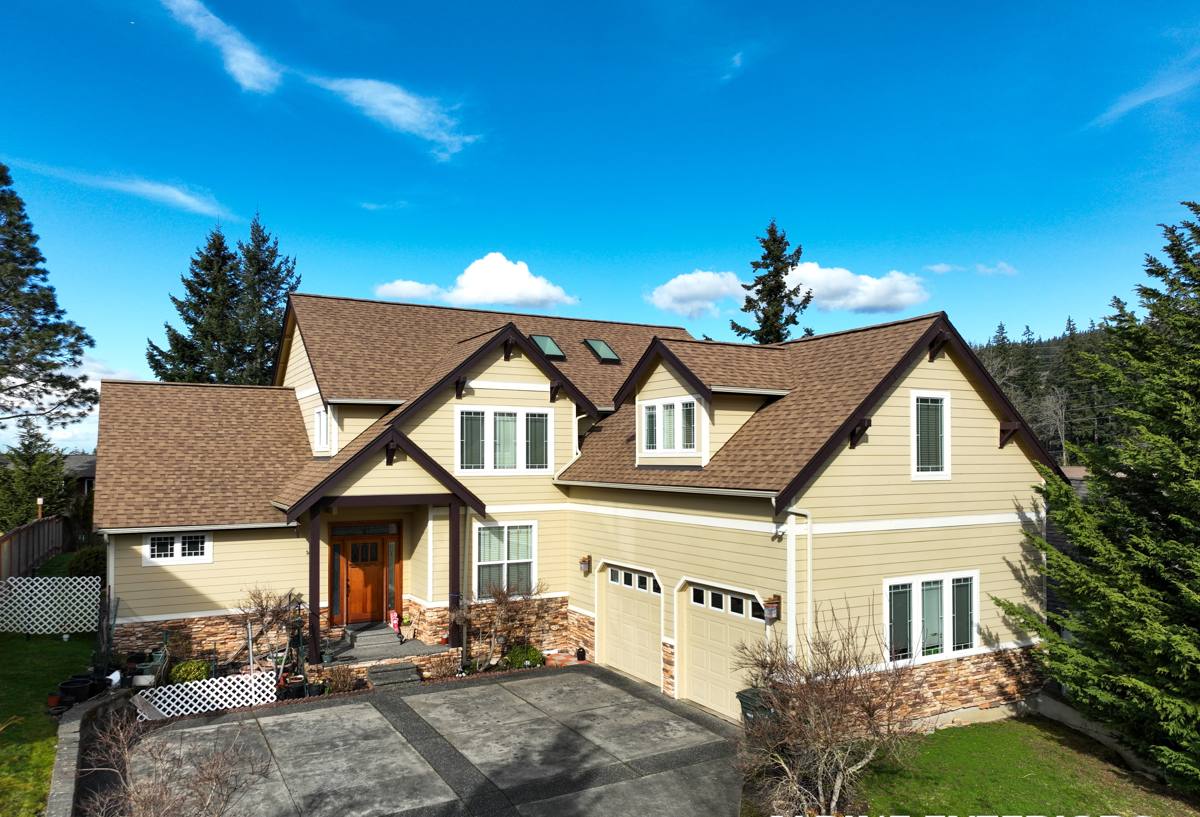
New-Construction vs. Replacement: Why the Install Method Is Different
A lot of homeowners assume "new-construction window" just means a window that's new, but it's actually a specific product and installation method. New-construction windows have a nailing flange around the perimeter that gets integrated directly into the wall's weather-resistive barrier (WRB) during framing, before siding goes on. Replacement windows, by contrast, are designed to fit into an existing opening without disturbing the surrounding wall finish.
Because Bayside gets a real amount of wind-driven rain off the water, the flanged, fully-integrated approach is the right one for a new build here — it gives you a continuous, lapped drainage plane from the roof down to the foundation. The tradeoff is that it only works correctly if it's done in the right order, at the right stage of framing, by someone paying attention to water direction and shingle-lap logic on every opening, not just the ones that are easy to reach.
Why Sequencing Matters More Near the Water
Every layer around a new-construction window — sill pan, side flashing, flange, tape, head flashing, WRB — has to lap over the layer below it, the same way roof shingles do, so water is always directed outward and down. On a house exposed to driving rain off Puget Sound and Possession Sound, a single reversed lap or a skipped sill pan is the kind of detail that won't leak in a light drizzle but will leak in a January wind storm.
Where Standard Installs Fall Short Near Bayside
Most window problems we get called out to fix in coastal-influenced neighborhoods trace back to a handful of repeatable mistakes, not bad windows:
- No sill pan flashing, or a sill pan that isn't sloped and end-dammed to shed water back outside the wall
- Housewrap and flashing tape lapped in the wrong order at the head of the window, letting water run behind the WRB instead of over it
- Missing or undersized kick-out flashing where a roofline meets a wall above a window, a common source of hidden rot on two-story homes
- Sealant used as the primary water barrier instead of as a backup to proper flashing
- Fasteners and flanges not rated or protected against the corrosion that comes with sustained salt-air exposure
Every one of these is avoidable. None of them require exotic materials — they require someone who treats the window opening as a water-management detail, not just a hole to set a product into.
Frame Materials: What Holds Up in Salt Air and Driving Rain
Frame material choice matters more in Bayside than it would a few miles inland, mainly because of corrosion and moisture cycling. Here's how the common options generally compare for this kind of exposure:
| Frame Material | Salt-Air / Corrosion Behavior | Moisture & Rot Resistance | Maintenance |
|---|---|---|---|
| Vinyl | Does not corrode; hardware quality varies by manufacturer | Won't rot; seams and welds are the weak point | Low — occasional cleaning |
| Fiberglass | Very stable, minimal expansion/contraction, corrosion-resistant | Excellent; dimensionally stable in wet-dry cycling | Low |
| Aluminum-clad wood | Cladding resists weather, but cut edges and joints can corrode over time | Wood core needs the cladding and seals to stay intact | Moderate — depends on seal integrity |
| Bare aluminum | Prone to pitting and oxidation in sustained salt air | Good rot resistance but poor thermal performance | Higher — finish upkeep |
We don't push one brand for every job. What we do insist on is corrosion-resistant hardware and fasteners on anything going into a Bayside opening, and we'll walk you through the honest maintenance tradeoffs of whichever frame material you're leaning toward before you commit, rather than after it's installed.
Glass and Performance Ratings Worth Paying Attention To
For a new build in this part of Everett, three numbers matter more than marketing language:
- U-factor — how well the window resists heat loss; lower is better for our wet, moderate-but-not-mild climate
- Design Pressure (DP) rating — how much wind load and water infiltration the window is tested to resist; homes with more open exposure toward the water benefit from a higher DP rating than a sheltered inland lot
- Air infiltration rating — lower numbers mean fewer drafts and less moisture-laden air working its way into the wall assembly during storms
Double-pane, low-E, argon-filled glass is standard on most new builds we see in Snohomish County, and it's a reasonable baseline. What we check beyond that is whether the specific unit's DP and water-infiltration ratings actually match how exposed the lot is — a window rated fine for a sheltered inland yard isn't automatically the right call for a more open, water-facing elevation.
Our New-Construction Window Process
On a new build, we work directly off the framer's rough openings and the plan set, and we coordinate timing so windows go in at the right point in the build sequence — not too early, not after the WRB is already closed up wrong.
Step by Step
- Plan and opening review — we check rough opening sizes, header heights, and elevation exposure before ordering anything
- Sill pan flashing — sloped and end-dammed at every opening, no exceptions, regardless of which elevation it's on
- Window set and shimming — leveled, plumbed, and fastened per the manufacturer's schedule so the warranty stays intact
- Flange and flashing integration — side flashing, then flange taping, then head flashing, each lapped correctly with the WRB
- Sealant as backup, not primary defense — applied where specified, never used to cover a flashing shortcut
- Documentation — photos of the flashing detail at each opening before siding closes it up, so there's a record if it's ever needed
That last step is one a lot of builds skip. On a house exposed to the kind of rain Bayside gets, having a photo record of what's actually behind the siding is worth far more than a verbal assurance.
Coordinating With Your Builder or Framer
New-construction window work almost never happens in isolation — it has to slot into a framing and siding schedule that other trades are also touching. The most common cause of a bad install isn't a bad window or a rushed crew, it's poor handoff: siding going on before flashing is finished, or a WRB detail that assumes a different flashing method than the one actually used. We coordinate directly with your general contractor or framer on timing and sequencing so nothing gets covered up before it's ready, and so there's no finger-pointing later about who was supposed to lap what over what.
What Drives Cost on a New-Construction Window Job
| Factor | Why It Matters in Bayside |
|---|---|
| Number and size of openings | More openings means more flashing details to get right, not just more product cost |
| Elevation exposure | Water-facing walls may justify a higher DP rating and more careful flashing than sheltered elevations |
| Frame material | Fiberglass and quality vinyl cost more up front but reduce long-term corrosion and maintenance issues |
| Access and building stage | Coordinating install timing with framing and roofing can affect scheduling and labor |
| Flashing complexity | Roof-wall intersections, dormers, and multi-story openings take more time to detail correctly |
We're not going to quote a number without seeing the plans and the site, but broadly, new-construction window packages for a home this size in our area run into the tens of thousands of dollars depending on window count, size, and material — the estimate will break that down opening by opening so you can see where the money goes.
Why It Helps to Hire a Crew That Already Works Bayside
A crew that's worked other new builds in this neighborhood already knows how exposed a given street or elevation tends to be, what moss and moisture buildup looks like a few years after a sloppy flashing job, and how the local building department likes to see flashing documented during framing inspections. That's not a substitute for doing the work correctly — it just means fewer surprises and fewer redo trips once siding is already up. We treat every opening the same way regardless of which elevation it's on, but knowing the neighborhood helps us flag the details worth extra attention before they're buried.
Get a Straight Answer on Your Windows
If you're building new in Bayside and want a straightforward look at window options, flashing details, and what it'll actually cost, we're glad to walk the plans with you. Fill out the form below for a free, no-pressure estimate — no pushy sales pitch, just a clear breakdown of what your home needs and why.