 Everett
 Building New in North Everett? The Windows Have to Match the Climate, Not Just the Floor Plan
New-construction window work in North Everett is a different job than a retrofit or a replacement. There's no old frame to work around, no existing trim to patch — you get to build the water management right the first time, with the rough opening, the weather-resistive barrier, and the window unit all installed as one integrated system. Done correctly, that's the strongest, longest-lasting window install there is. Done poorly, it's the fastest way to bake a moisture problem into a brand-new wall before the drywall even goes up.
North Everett sits close enough to Possession Sound and the broader Puget Sound shoreline that salt-laden air is a real factor in material selection, not a theoretical one. Add Snohomish County's long wet season — months of driving rain pushed sideways by wind off the water — and a moss season that can run from fall through spring on north-facing and shaded elevations, and you've got a climate that punishes shortcuts. New-construction windows here need to be selected and installed with all three of those stresses in mind from day one.
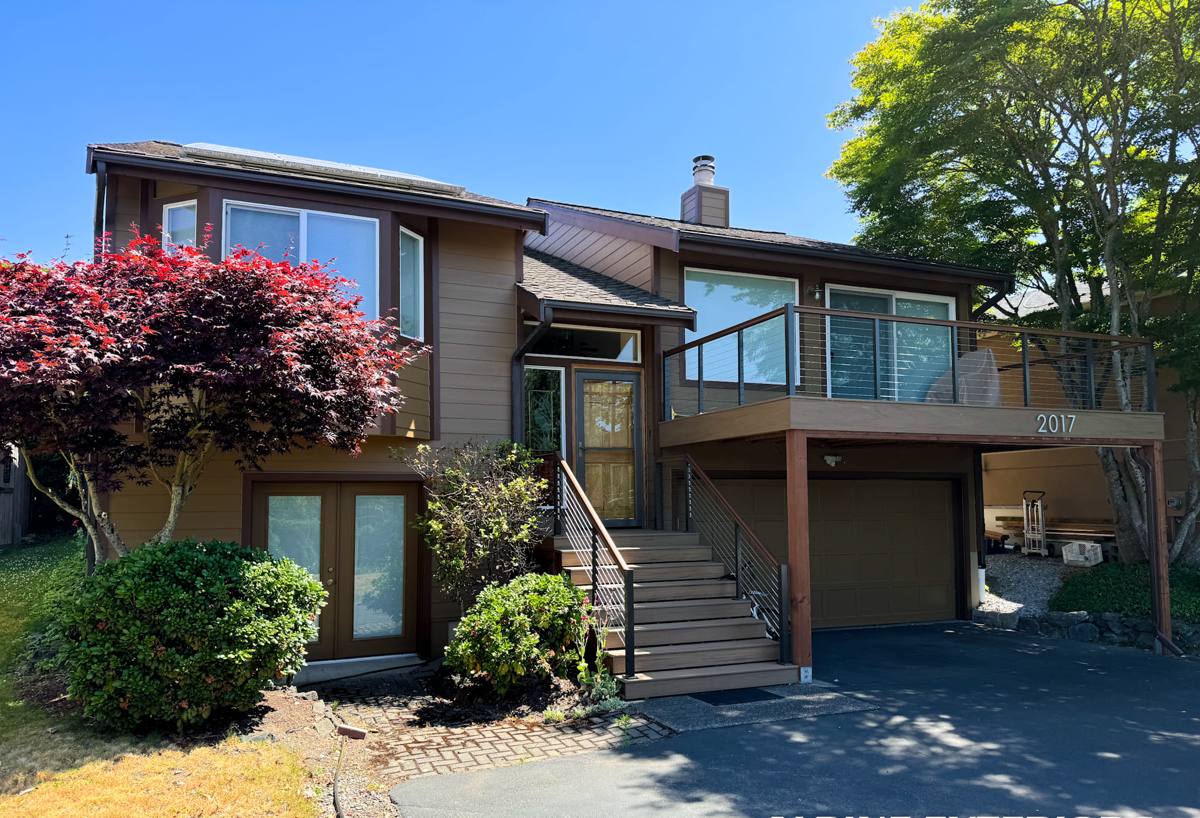
What North Everett's Climate Actually Does to a New Window Install
Salt Air and Metal Components
Homes closer to the water deal with airborne salt that accelerates corrosion on unprotected metal — fasteners, flashing, and hardware. It's not usually dramatic or fast, but over years it can pit poorly-coated screws and degrade cheap flashing metal well before the window itself would otherwise need attention. On new construction, this is easy to solve up front by speccing corrosion-resistant fasteners and flashing at the framing stage — much harder and more expensive to fix after the siding and trim are already closed in.
Driving, Wind-Driven Rain
Everett doesn't just get rain — a lot of it comes in at an angle, driven by wind off the Sound. A window that would perform fine in a calmer climate can still leak here if the sill pan, flashing laps, and sealant details aren't built to shed water that's actively being pushed sideways and upward under wind pressure. This is the single biggest reason a "watertight-looking" install can still fail in year two.
Moss, Shade, and Sustained Moisture
North Everett's tree cover and cloud cover keep a lot of exterior surfaces damp for long stretches, which is exactly what moss needs to establish. Moss holding moisture against sill trim or building paper isn't a cosmetic issue — it's a slow, steady water source sitting right where you least want one. New-construction detailing that accounts for drainage and drying (not just keeping water out, but letting it escape if it gets in) matters more here than in drier parts of the state.
What a Correct New-Construction Window Install Actually Involves
"New-construction window" refers to a window with a nailing flange, installed before the siding goes on, as part of the wall's water-management system — as opposed to a "replacement" or "pocket" window that fits into an existing opening. The nailing flange gets integrated directly with the weather-resistive barrier (housewrap or similar) and flashing, which is what makes new construction the more robust option when it's available. But that only holds true if the sequence is followed correctly.
The Sequence That Actually Keeps Water Out
- Rough opening is cut and checked for square, level, and correct sizing with proper tolerance around the unit
- Sill pan flashing is installed first, sloped to drain outward, so any water that gets past the window has somewhere to go
- Weather-resistive barrier is cut and prepped around the opening using a shingle-style approach — every layer overlaps the one below it, never the reverse
- Window unit is set, shimmed level and plumb, and fastened per the manufacturer's schedule
- Flange is integrated into the WRB with flashing tape at the sides and top, again shingled correctly so water always moves down and out
- Head flashing is installed above the window to divert water around, not into, the top of the opening
- Interior and exterior sealant is applied at the specified points — and only the specified points, since sealing the wrong spot can trap water instead of stopping it
Skip or rush any one of these steps and you can end up with a window that looks perfect from the outside and still leaks into the wall cavity where nobody will see it until there's rot, mold, or a stain on the drywall years later.
Choosing Window Products for This Specific Location
We install new-construction windows from established, warrantied manufacturers, and we steer the selection conversation around what actually holds up in a marine, high-rainfall climate rather than what's cheapest per unit. A few honest trade-offs worth knowing before you pick a product line:
| Frame Material | Strength Here | Trade-Off to Know |
|---|---|---|
| Vinyl | Good value, low maintenance, decent moisture tolerance | Lower-end lines can flex or discolor over time; quality varies a lot by manufacturer |
| Fiberglass | Very stable in wet/temperature-swing climates, holds paint well | Higher upfront cost than vinyl |
| Aluminum-clad wood | Strong look, good performance when detailed correctly | More installation-sensitive; any breach in the cladding exposes wood to moisture |
| Bare wood | Classic appearance, historically common | Highest maintenance burden in a wet, salt-influenced climate — not our default recommendation here |
Whatever line you choose, we prioritize units with a documented, manufacturer-backed warranty and proven weather-sealing hardware over a slightly lower price tag. On a new build, the window is only as good as its weakest warranty claim once it's behind finished siding.
Cost Factors on New-Construction Window Jobs
| Factor | Why It Moves the Price |
|---|---|
| Number and size of openings | More and larger units mean more material and labor hours |
| Frame material | Vinyl, fiberglass, and clad-wood carry different unit costs |
| Flashing and WRB detailing complexity | Elevations with more corners, dormers, or bump-outs take more time to detail correctly |
| Access and site conditions | Scaffolding or lift needs for upper-story openings add labor |
| Timeline coordination with framers | Working in sequence with the framing crew, not around them, keeps the schedule tight |
Our Process for North Everett New Builds
We coordinate directly with your builder, framer, or GC so windows go in at the right point in the schedule — not too early, not so late that the WRB is already closed up around openings that were an afterthought. Our crew handles the flashing and sealing details ourselves rather than leaving them to whoever's on site that day, because that's the part of the job that determines whether the wall stays dry for the next 30 years.
Before we start, we walk the plans with you or your builder to confirm window sizes, swing directions, and any elevations that need extra flashing attention — typically north-facing or shaded walls where moss and sustained dampness are more of a factor. We use manufacturer-specified fasteners and flashing tape rated for the exposure, not generic hardware store substitutes, especially on homes closer to the water where salt exposure is higher.
Why Hire a Crew That Already Works North Everett
Window flashing details that work fine in a dry inland climate can fail here, and a crew that mostly works elsewhere may not build in the extra margin this area needs. We work throughout Snohomish County and know which elevations in North Everett tend to catch the worst of the wind-driven rain, which spots hold onto moss longest, and which details are worth the extra ten minutes because the climate doesn't forgive shortcuts. That's not a marketing line — it's the practical difference between a window that's still performing in year fifteen and one that's already showing water staining by year three.
We also stand behind our installation workmanship separately from the manufacturer's product warranty, so you're not left guessing who's responsible if something goes wrong down the line.
A Practical Checklist Before Your Windows Go In
- Confirm the window line's warranty covers both the unit and the installation, or understand the split
- Ask specifically how sill pan flashing and head flashing will be handled, not just "will it be flashed"
- Confirm fastener and flashing tape materials are rated for coastal/marine exposure
- Make sure the installer is coordinating timing with your framer, not working in isolation
- Get the sequence of WRB integration explained in plain terms — it should always shingle water downward and outward
- Ask which elevations of your specific lot are most exposed to wind-driven rain or shaded/moss-prone conditions
Let's Talk About Your Build
If you're framing a new home or addition in North Everett and want the window package done right the first time, we're happy to walk the plans with you and give you a straightforward, no-pressure estimate. Use the form below to get started.