 Everett
 Siding Installation for the Snohomish Area, Done by People Who Work Here
Snohomish sits inland from Everett along the river valley, but don't let the distance from Puget Sound fool you — the weather that defines this part of Snohomish County doesn't stop at the water's edge. Homes here still take on long stretches of driving rain, humid air that never fully dries out between storms, and a moss season that can run eight months or longer in shaded, north-facing yards. Siding installation in this area isn't a cosmetic upgrade. It's the single biggest factor in whether a house stays dry, holds its paint, and avoids rot behind the walls for the next several decades.
This page is specifically about installing new siding on homes in and around Snohomish — not a general overview of siding as a category. If you're comparing bids, trying to understand what "correct installation" actually means, or wondering why your current siding is failing faster than it should, this is written for you.
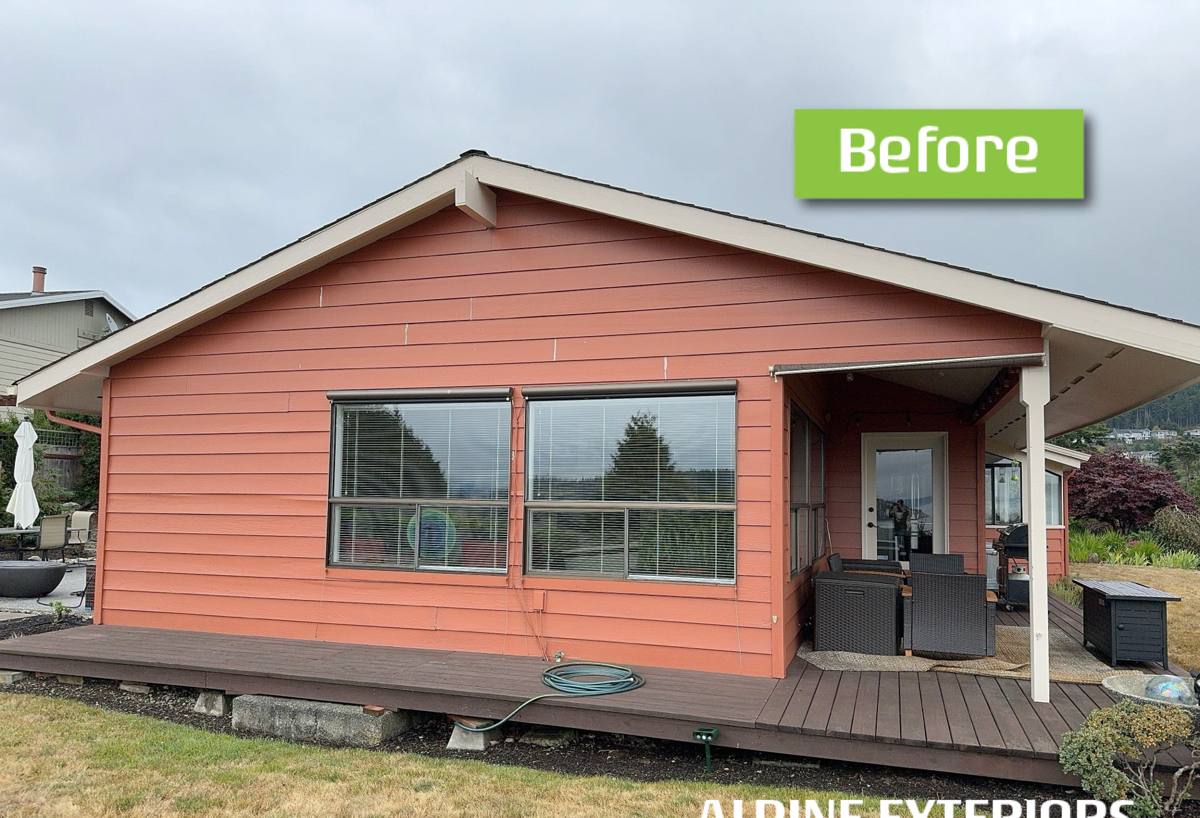
What Snohomish-Area Homes Actually Face
Snohomish County's climate is temperate, which sounds gentle until you account for how much moisture stays in play. A few specifics that matter for siding:
- Driving rain, not just steady rain. Wind-driven storms push water sideways into wall assemblies, not just down. Siding and flashing details that only handle vertical water fail here.
- Salt-influenced air. Proximity to Puget Sound and the Snohomish River delta means airborne moisture carries mineral and salt content that accelerates corrosion on fasteners, trim, and any metal components that aren't rated for it.
- Extended moss and algae season. Shaded lots, mature tree cover, and consistent moisture create ideal conditions for moss, mold, and algae growth on north- and west-facing walls — surfaces that stay damp longest between rain events.
- Freeze-thaw cycling, even if mild. Snohomish doesn't see brutal winters, but repeated freeze-thaw at the margins still stresses any siding material that absorbs water and expands.
None of this is exotic. It's the standard Pacific Northwest lowland climate. But it's demanding in a specific, cumulative way — the kind of stress that shows up as callbacks five and ten years down the road, not in the first season.
Why We Install Only James Hardie Fiber Cement
We don't install vinyl, LP SmartSide, primed spruce, cedar, or other fiber cement brands. That's not a marketing position — it's a standard we set because of what we've seen happen to siding in exactly this climate over time.
James Hardie fiber cement is non-combustible, dimensionally stable, and manufactured with a factory-applied ColorPlus finish that's baked on rather than field-painted, which matters enormously in a climate where paint has to fight constant moisture exposure. For Snohomish and the broader Puget Sound region, we install Hardie's HZ5 product line — engineered specifically for wet, humid climate zones, with moisture and impact resistance calibrated for exactly the conditions described above.
Fiber cement doesn't feed moss and algae growth the way wood-based products can, and it doesn't have the seam and expansion vulnerabilities that let wind-driven rain work behind vinyl over time. It also carries a strong transferable warranty when installed to manufacturer spec — which is the operative phrase, because Hardie siding installed incorrectly forfeits most of what makes it a good long-term investment. That's true of any siding product, but it's especially true of fiber cement, which is less forgiving of shortcuts than people assume.
What We Don't Install, and Why
| Product | Where it struggles in this climate |
|---|---|
| Vinyl siding | Seams and panel expansion allow wind-driven rain intrusion over time; can warp or fade in temperature swings |
| LP SmartSide / engineered wood | Wood-strand core is more moisture-sensitive at cut edges and fastener penetrations than fiber cement |
| Primed spruce / cedar | Requires ongoing repainting and sealing to keep ahead of moss, checking, and moisture absorption |
| Other fiber cement brands | Field-applied or thinner factory finishes don't hold up to this climate's UV and moisture cycle as consistently |
What a Correct Installation Actually Involves
Most siding failures we're called to diagnose aren't material failures — they're installation failures. A house can be sided with the best product available and still leak, rot, or fail early if the underlying assembly is wrong. In a climate like Snohomish's, every detail below carries more weight than it would in a drier region.
Weather-Resistive Barrier and Water Management
Before any siding goes up, the wall needs a continuous, properly lapped weather-resistive barrier (WRB) with all penetrations — outlets, hose bibs, vents — correctly flashed and integrated into the drainage plane. Given how much wind-driven rain this region sees, we also install a drainage gap behind the siding wherever the wall assembly calls for it, so any water that does get past the cladding has somewhere to go besides into the sheathing.
Flashing at Every Transition
Windows, doors, rooflines, deck ledgers, and any place two planes meet are where water finds its way in. Flashing has to be layered correctly — upper pieces overlapping lower ones — so water sheds down and out, never sideways or up behind the barrier.
Fastening and Clearances to Manufacturer Spec
Hardie siding has specific fastener type, spacing, and penetration requirements, along with minimum clearances from grade, roof lines, and decks. Skipping these clearances is one of the most common shortcuts we see on inspection — and it's exactly what lets moisture wick into the bottom edge of the siding over a wet Snohomish winter.
Corrosion-Resistant Hardware
Given the salt-influenced air in this part of the county, we use fasteners and flashing rated for coastal-adjacent exposure rather than standard interior-grade hardware that can start corroding within a few seasons.
Our Process, Start to Finish
- On-site assessment. We walk the exterior, check current siding and sheathing condition where accessible, and note drainage, shading, and moisture patterns specific to your lot.
- Written estimate. Scope, product line, color, and cost factors laid out clearly — no vague allowances.
- Tear-off and sheathing check. Old siding comes off and the sheathing underneath gets inspected. Any rot or damage gets addressed before anything new goes on — covering a compromised wall is how problems get sealed in, not solved.
- Weather barrier and flashing installation. This is the step that determines whether the house stays dry for the next 30 years, done before a single piece of visible siding goes up.
- Hardie siding installation to spec. Correct fastening, clearances, and joint treatment throughout.
- Final walkthrough. We go over the finished work with you directly and address anything before we consider the job done.
What Drives Cost
Every Snohomish-area home is different, and we don't quote broad numbers without seeing the house — but these are the factors that actually move a siding estimate up or down:
| Factor | Why it matters |
|---|---|
| Home size and wall complexity | More corners, gables, and dormers mean more cutting, flashing, and labor time |
| Condition of existing sheathing | Rot repair found during tear-off adds scope, but skipping it costs far more later |
| Siding profile and trim detail | Lap siding, shingle-style panels, and trim boards each carry different material and labor costs |
| Access and site conditions | Steep lots, tight setbacks, or limited equipment access affect labor time |
| Color and finish selection | Factory ColorPlus finishes vary slightly in cost by line and color depth |
Signs Your Current Siding Is Due for Replacement
Not every problem means a full replacement, but these are the signals worth taking seriously in this climate:
- Paint that's peeling, bubbling, or needing repainting more often than every 7-10 years
- Soft spots, visible warping, or boards that flex under light pressure
- Persistent moss or dark staining that returns quickly after cleaning
- Visible gaps, cracking, or separation at seams and corners
- Musty smell or soft drywall on interior walls near exterior siding
- Siding installed more than 20-25 years ago, especially wood-based or older vinyl products
Why a Crew That Already Works Snohomish Matters
Siding installation isn't a one-size-fits-all process, and a crew that mainly works drier inland regions or different climate zones can miss details that matter here. Working regularly around Everett and Snohomish means we already know how this area's rain behaves against a wall, which orientations collect moss fastest, and where salt-influenced air tends to be worse for hardware corrosion. That's not abstract knowledge — it changes how we detail flashing, which fasteners we spec, and where we pay extra attention during tear-off.
It also means we're not learning Snohomish County's permitting and inspection expectations on your project. Consistent local work builds a level of familiarity that shows up in fewer surprises mid-job and a finished install that's built for the actual conditions your house faces, not a generic climate assumption.
After Installation: Keeping It Right
Correctly installed Hardie siding is low-maintenance, not no-maintenance. A yearly rinse to keep moss and organic buildup from taking hold, prompt attention to any caulking or trim that shows wear, and keeping gutters clear so water isn't sheeting down the wall face will keep the siding performing the way it's designed to for decades. None of this compares to the upkeep wood or vinyl siding demands in this climate, but a five-minute visual check each fall is worth the habit.
If you're weighing siding replacement for a home in Snohomish or anywhere around Everett, we're glad to walk the property, look at what you're currently dealing with, and put together a clear, no-pressure estimate — no obligation, and no pressure to sign anything on the spot. Use the form below to get started.