 Everett
 Why Siding Repair Looks Different in Snohomish
Homes in and around Snohomish sit in a tough spot climate-wise. You're close enough to Puget Sound to catch salt-laden air on a west wind, far enough inland to trap the valley's own damp, still air, and squarely in the path of the long, wet Pacific Northwest winter that can run six or seven months a year. Add the moss and algae season that follows every fall rain, and you've got a set of conditions that wears on exterior siding in ways a drier climate simply doesn't produce. A repair job here isn't just patching a hole — it's stopping a moisture problem before it becomes a structural one.
We work on homes throughout Snohomish and the greater Everett area regularly, and the pattern repeats: siding that looks fine from the street but is quietly failing at the seams, the bottom courses, or wherever water has been sitting instead of shedding. Snohomish County's mix of older wood-sided homes and newer builds means we see everything from rot-compromised cedar lap to failed caulk joints on fiber cement that was installed a few corners too fast.
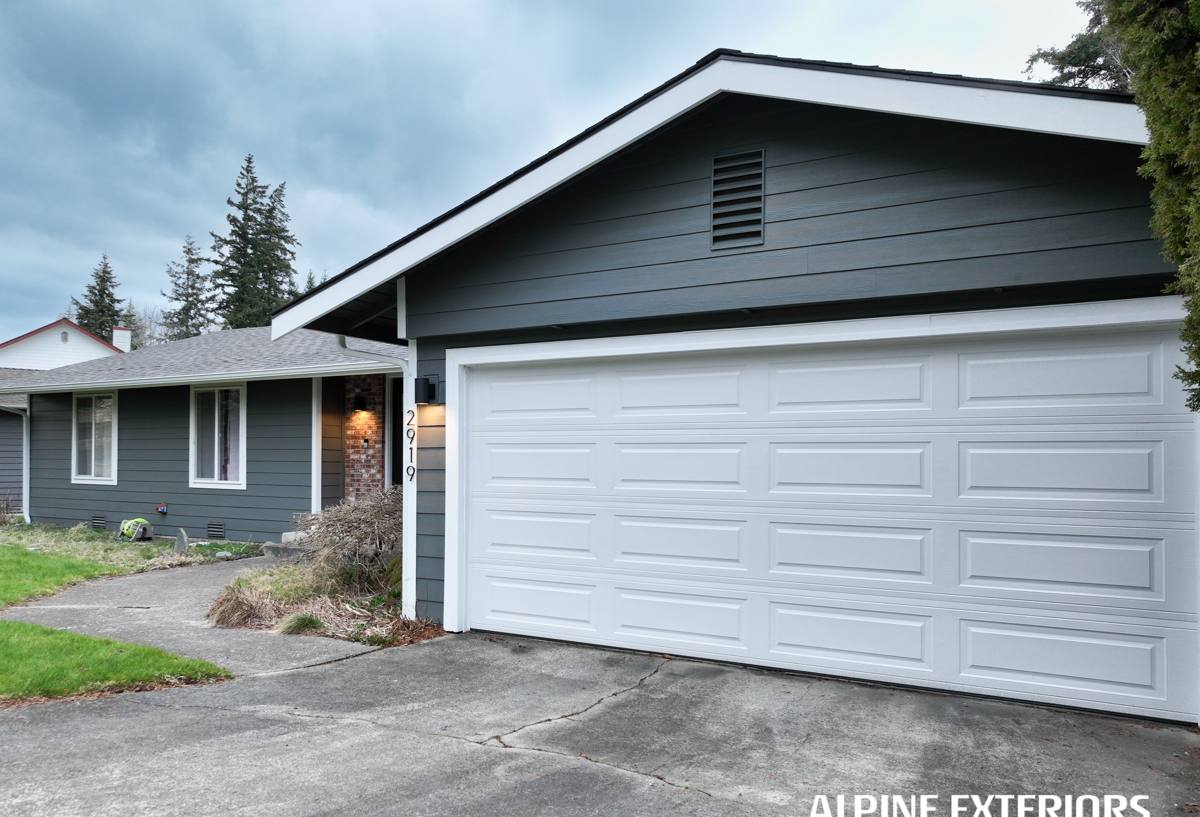
What Snohomish's Climate Actually Does to Siding
Moisture That Doesn't Leave
Driving rain off the Sound doesn't just wet the surface of your siding — wind-driven rain pushes water sideways into laps, seams, and fastener holes. If the water can't find its way back out, it sits behind the cladding against the wall sheathing. That's where rot starts, and it starts invisibly, months or years before a stain or soft spot shows up outside.
Salt Air and Fastener Corrosion
Even a few miles from open water, salt-tinged air accelerates corrosion on anything metal — nails, screws, flashing, trim fasteners. Rust-streaked siding or a fastener head that's backed out slightly is often the first visible sign that the hardware underneath is failing faster than the siding itself.
Moss, Algae, and the Long Wet Season
Shaded north and west walls in Snohomish stay damp for days after a storm, which is exactly what moss and algae need to take hold. Beyond the cosmetic green tinge, moss holds moisture against the siding surface longer than bare material would, which speeds up paint failure, caulk breakdown, and, on wood-based products, rot.
Temperature Swings and Material Movement
Snohomish doesn't get extreme heat, but summer afternoon sun on a south-facing wall followed by cool, damp nights still puts real expansion-and-contraction stress on siding and its joints. Over years, that cycling opens gaps at butt joints and around trim that weren't there when the house was new.
Signs Your Snohomish Home Needs Siding Repair, Not Just a Wash
- Soft or spongy spots when you press on the siding, especially near the bottom courses or under windows
- Paint that's bubbling, peeling, or alligatoring in patches rather than evenly across a wall
- Visible gaps at butt joints, corners, or where siding meets trim, windows, or doors
- Dark streaking or persistent moss growth that keeps coming back after cleaning
- Nail or screw heads that have backed out, popped, or left rust trails down the face of the siding
- Warping, cupping, or bowing boards, particularly on walls that get the most weather exposure
- Interior clues — a musty smell, a damp patch on drywall, or peeling interior paint on an exterior wall
- Caulk that's cracked, shrunk, or pulled away from joints and trim
Any one of these on its own might be minor. Several together, especially on the same wall, usually means water has been getting behind the siding for a while.
What a Correct Repair Actually Involves
A lot of "siding repair" in this region amounts to cutting out a bad board, nailing in a new one, and caulking the edges. That approach treats the symptom and leaves the cause — usually a moisture path — untouched. Here's what we check and address on every repair call in Snohomish:
1. Find Where the Water Is Actually Getting In
Damage rarely originates where it shows up. A stain near a window might trace back to failed flashing above it; a soft spot at the bottom of a wall might be fed by a gutter that's been overflowing for two winters. We trace the path before we touch the siding.
2. Check the Sheathing and Framing Behind the Damage
Once siding is pulled back, we look at what's underneath — the weather-resistive barrier, the sheathing, and framing. If there's rot in the structure, that gets addressed first. Replacing siding over compromised sheathing just buys a few more years before the same problem resurfaces.
3. Rebuild the Water Management, Not Just the Surface
Proper repair means correct flashing at windows, doors, and horizontal joints; house wrap or building paper that laps correctly (upper courses over lower, so water sheds outward); and the right gap and fastening at the bottom of the wall so the siding can drain and dry.
4. Match Materials and Finish Correctly
A patch that doesn't match reveals itself immediately, especially with factory-finished products. On repairs, we match profile, reveal, and color as closely as the existing material allows, and we're upfront when an exact match isn't realistic — usually on older or discontinued colors — so there are no surprises.
5. Seal and Finish for This Climate
Caulking and sealant choice matters more here than in drier regions. We use sealants rated for sustained moisture exposure and UV, not general-purpose caulk that shrinks and cracks within a couple of Snohomish winters.
Repair vs. Replacement: How We Help You Decide
Not every damaged area needs a full re-side, and not every home is a good candidate for spot repair. We give you a straight answer based on what we actually find, not a default push toward the bigger job.
| Factor | Repair Usually Makes Sense | Replacement Should Be Considered |
|---|---|---|
| Extent of damage | Isolated to one or two walls or sections | Recurring or spread across most of the exterior |
| Underlying structure | Sheathing and framing test sound | Rot found in sheathing or framing in multiple areas |
| Age of existing siding | Siding is otherwise mid-life and performing well | Siding is at or past its expected service life |
| Material match | Close match available, or damage is in a low-visibility area | Discontinued profile/color with damage in a visible location |
| Root cause | Cause is identifiable and fixable (flashing, gutter, caulk) | Cause is systemic — original installation or product-wide moisture issues |
If replacement is the honest answer, we'll tell you why — and we'll only propose James Hardie fiber cement as the replacement material. It's the only product line we install, for reasons we're glad to walk through on-site.
Our Process for a Snohomish Repair Call
- Inspection. We walk the exterior, probe suspect areas, and check flashing, gutters, and grade slope, since drainage issues away from the wall often show up as siding damage.
- Diagnosis and written scope. You get a plain-language explanation of what's actually wrong, what caused it, and what fixing it involves — before any work starts.
- Material and color matching. We source matching James Hardie product where the existing siding is Hardie, or discuss the closest reasonable match if it's a different material.
- Repair work. Removal of damaged material, structural check and repair as needed, correct flashing and water-resistive barrier work, new siding installed to manufacturer spec, and proper sealing.
- Final walkthrough. We show you what was done and why, including anything found behind the siding that's worth keeping an eye on going forward.
Why It Matters to Hire a Crew That Already Works This Area
A crew that only occasionally works Snohomish County will diagnose siding damage the same way they would anywhere else in the Puget Sound region — which usually gets close, but not exact. A crew that's out in Everett and the surrounding communities on a regular basis has already seen which walls in this valley take the worst of the driving rain, which older subdivisions have flashing details that tend to fail first, and how much moss buildup is normal wear versus a sign of a deeper moisture problem. That local pattern recognition shortens the diagnosis and reduces the odds of a repair that misses the real cause.
It also matters for the boring-but-important logistics: knowing how to schedule around the wettest months, having a relationship with local material suppliers for faster turnaround on matching Hardie product, and being available for a follow-up look next season if you want peace of mind after a repair.
Maintaining Repaired Siding Through Snohomish Winters
- Keep gutters clear going into fall — overflow is one of the most common causes of repeat siding damage we see
- Rinse moss and algae off shaded walls before it establishes; a soft wash is enough, avoid high-pressure spraying directly into seams
- Walk the exterior once a year, ideally before winter, and look for the same warning signs listed above
- Keep sprinklers and irrigation pointed away from siding — direct, repeated wetting shortens the life of any exterior material
- Re-caulk trim and joints on the maintenance schedule your installer recommends, rather than waiting for visible cracking
Why We Only Repair and Replace With James Hardie
When we're patching or replacing siding on a Snohomish home, we use James Hardie fiber cement — nothing else. It's non-combustible, it's engineered specifically for Pacific Northwest moisture exposure through Hardie's HZ10 product line, and it holds a factory-applied ColorPlus finish that resists the fading and peeling that plagues field-painted siding in a climate this wet. That consistency matters most in repair work, where getting a durable, long-term match is the whole point — patching a moisture-prone product with more of the same product just resets the clock on the same problem.
If your Snohomish home's siding is showing any of the warning signs above, we'll come take a look, tell you honestly what we find, and lay out what it takes to fix it right. Reach out for a free, no-pressure estimate using the form below.