 Everett
 New-Construction Windows: What the Term Actually Means
"New-construction windows" refers to windows installed during framing, before siding and exterior finishes go on — as opposed to replacement windows, which get fitted into an existing wall opening after the original window is removed. New-construction units have a nailing fin (also called a nail flange) around the perimeter that gets fastened directly to the sheathing and integrated into the weather-resistive barrier (WRB) and flashing system before any siding is installed. Get this stage right and the wall assembly behind your siding stays dry for decades. Get it wrong and you won't know until there's rot inside a wall cavity, usually years later.
For a siding contractor, window installation and siding installation aren't separate jobs — they're the same water-management system. We install new-construction windows as part of the exterior envelope, not as a stand-alone product swap, because the flashing details at the window connect directly to the flashing details at the siding.
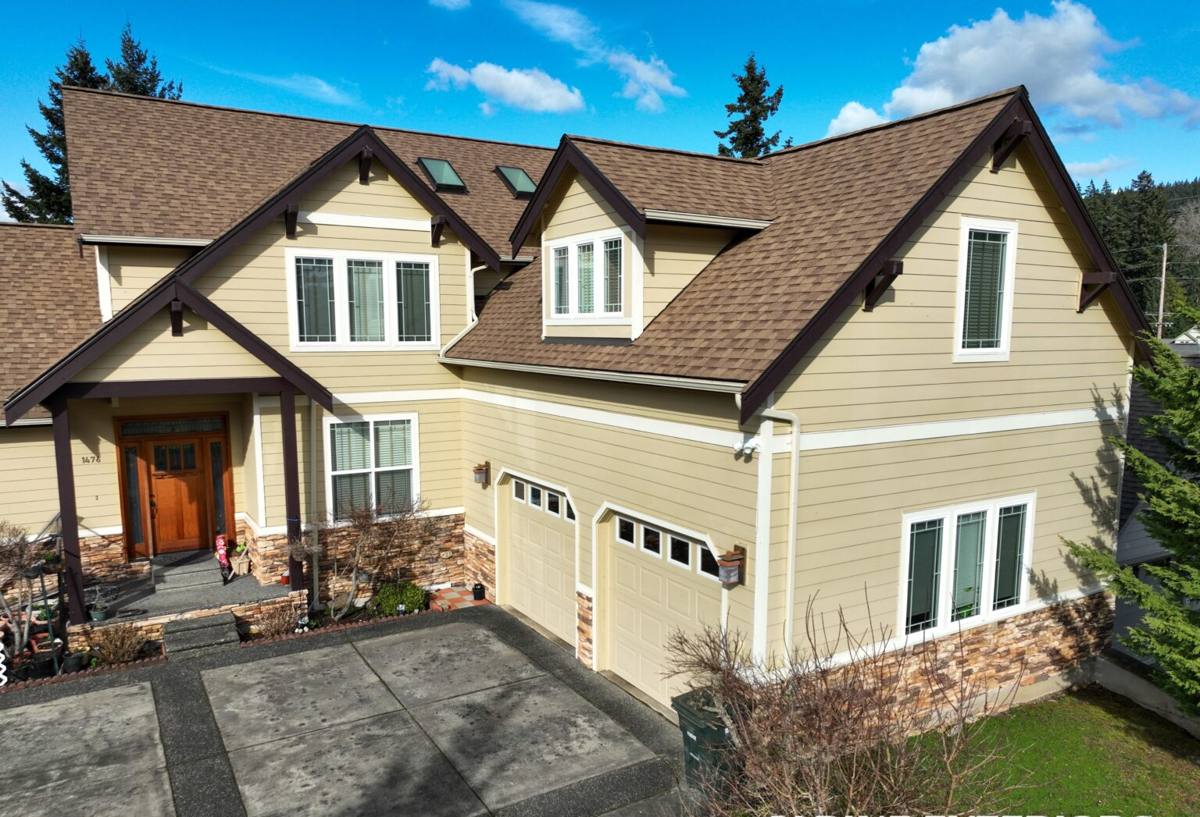
Why South Everett's Climate Makes This a Bigger Deal Than It Looks
South Everett sits in Snohomish County, close enough to Puget Sound and the Sound-influenced weather pattern that homes here deal with a specific combination of stresses: salt-tinged marine air, wind-driven rain that hits walls at an angle instead of falling straight down, and a long, damp moss season that keeps roofs, siding, and window trim wet for months at a stretch. None of that is dramatic on its own, but it's relentless — and relentless moisture exposure is exactly what exposes a shortcut in window flashing.
Driving rain in particular is the reason a correctly lapped sill pan and head flashing matter more here than they would in a drier inland climate. Wind-driven rain doesn't just run down a wall — it gets pushed sideways and upward under laps that were installed with the wrong shingle-style order. Salt air accelerates corrosion on unprotected fasteners and lower-grade hardware. And moss season means organic growth holds moisture against trim and sills for extended periods, so any gap in the sealant or WRB detailing has more time to do damage before anyone notices.
What This Means in Practice
- Sill pan flashing is not optional in this climate — it's the last line of defense if any water gets past the window itself
- Fasteners and flashing tape need to hold up to sustained moisture exposure, not just occasional rain
- Sealant joints need to be detailed correctly the first time, since re-sealing later means removing trim or siding
- Corner and rough-opening details matter more on walls facing prevailing wind and rain direction
New-Construction vs. Replacement Windows: Why the Distinction Matters
We get asked whether it matters which type of window install a project needs. It matters a lot — the products, the flashing sequence, and the labor involved are different.
| Factor | New-Construction Windows | Replacement Windows |
|---|---|---|
| Installed | During framing, before siding | Into an existing finished wall opening |
| Flashing access | Full access to sheathing and WRB | Limited — works within existing trim/siding |
| Nailing method | Nail fin fastened to sheathing | Frame-in-frame or pocket install, no fin |
| Best fit | New builds, additions, full siding tear-offs | Swapping an old window without touching siding |
| Water management | Fully integrated flashing system | Relies on existing wall's original flashing |
If a South Everett project is a new build, an addition, or a job where the siding is already coming off the wall, new-construction windows are almost always the right call — you get to build the flashing system from scratch instead of working around what's already there.
What a Correct New-Construction Window Install Involves
This is where most of the long-term performance of a window gets decided — not in the showroom, but in the sequence of steps at the rough opening. The order matters as much as the materials.
The Sequence, Step by Step
- Rough opening is checked for square, level, and correct size before anything else happens
- Sill pan flashing is installed first, sloped slightly to drain any intruded water back outside the wall
- Jamb flashing goes on next, lapping over the sill pan
- The window is set into the opening, shimmed level and plumb, and fastened through the nail fin
- Head flashing is installed last, lapping over the WRB above the window — this "shingle-style" order (bottom pieces overlapped by the pieces above) is what actually sheds water downward instead of trapping it
- Sealant is applied at specified points only — sealing the entire perimeter, including the bottom of the nail fin, traps water inside the wall instead of letting it drain
- WRB is taped and integrated over the flashing before siding installation begins
That last point trips up a lot of installers who aren't used to working with siding crews: sealing every edge of a window frame feels thorough, but it's actually a common cause of hidden rot, because it blocks the one drainage path the sill pan was designed to use.
Checklist: What to Confirm Before Siding Goes Over Your New Windows
- Sill pan flashing is present and sloped to drain outward
- Flashing laps follow shingle-style order (bottom to top)
- Nail fin is fully fastened per the manufacturer's schedule
- WRB is taped and continuous around the opening, with no gaps
- Sealant is only at the specified joints — not a full perimeter bead
- Window is checked for square and proper shim placement, not just "looks straight"
Choosing a Frame Material for This Climate
Salt air and prolonged dampness rule out a few options and favor others. We don't push one brand over another — we talk through trade-offs based on how each material actually holds up here.
| Frame Material | Moisture/Salt Behavior | Maintenance | Typical Fit |
|---|---|---|---|
| Vinyl | Resists moisture and corrosion well; won't rot | Low — occasional cleaning | Most South Everett homes, cost-conscious builds |
| Fiberglass | Very stable in wet/humid conditions, minimal expansion/contraction | Low | Higher-end builds, larger window units |
| Wood-clad | Good performance if cladding and seals are intact; interior wood needs protection from any leak | Higher — finish and seal upkeep | Homeowners wanting a wood interior look |
| Bare wood | Poor fit for sustained coastal moisture without diligent upkeep | High | We generally steer clients away from this in our climate |
We're upfront when a homeowner is drawn to a product that's going to demand more upkeep than they're expecting given how wet this area stays for a good part of the year — that's a maintenance conversation, not a knock on the product.
Our Process for South Everett New-Construction Projects
1. Coordination Before Framing Is Finished
We connect with the builder or general contractor early so rough openings, header heights, and flashing details are planned before framing wraps up — fixing a rough opening after the fact costs everyone time.
2. Product Selection
We walk through frame material, glass package, and performance ratings against the specific exposure of the home — a wall that takes direct wind-driven rain gets more attention than a sheltered elevation.
3. Flashing and Installation
Sill pans, jamb flashing, and head flashing go in following the shingle-style sequence above, with WRB integration handled as part of the same crew's scope — not handed off between separate trades who don't talk to each other.
4. Inspection Before Siding Covers It Up
Once windows and flashing are in, we check the work before siding goes on. This is the one point in the build where every flashing detail is still visible — after siding, it isn't.
Why the Crew Matters as Much as the Window
A quality window installed with the wrong flashing sequence will fail the same way a cheap window would — from the inside, slowly, behind the siding. The window product is maybe half the equation. The other half is a crew that has actually done this sequence enough times, in this climate, to treat sill pans and shingle-lapped flashing as non-negotiable rather than optional extra steps.
A crew that regularly works in South Everett and greater Snohomish County also has a practical read on things that don't show up in a spec sheet: which elevations on a given lot take the worst of the wind-driven rain, how much moss buildup to expect on north-facing trim, and how local building department inspectors like to see flashing documented at rough-in. That familiarity saves rework and keeps a new-construction schedule from stalling on an inspection callback.
What to Expect for Timeline and Coordination
New-construction window installation timing is dictated by the framing schedule, not by us — windows go in once the rough opening is framed and sheathed, and siding can't start until the windows and flashing are complete and inspected. On a typical single-family home in this area, the window-and-flashing stage itself usually takes a few days once the crew is on site, though weather and the number of openings affect that. We build in the drying and inspection time this climate calls for rather than rushing to keep a siding crew moving — a rushed flashing job is the single most common source of long-term problems in a new build.
If you're building, adding on, or coordinating trades for a South Everett project and want new-construction windows installed as part of a properly sequenced water-management plan, we're glad to walk the plans with you and give a straightforward, no-pressure estimate — just fill out the form below.